Atlas 618 Back Gear Assembly
This article deals with the back gear on the Atlas 618 lathe. The lathe I have here is an
older model with sleeve bearings, and deals with that type. If you have one of these lathes
with roller bearings, there could be a few differences. I don't know, for sure. Never had
on of the models with rollers.
The write up starts with putting the parts for the back gear back together. Getting it apart,
as with most things, is pretty easy. If you need to see how it comes apart in the first place,
read this article backwards...
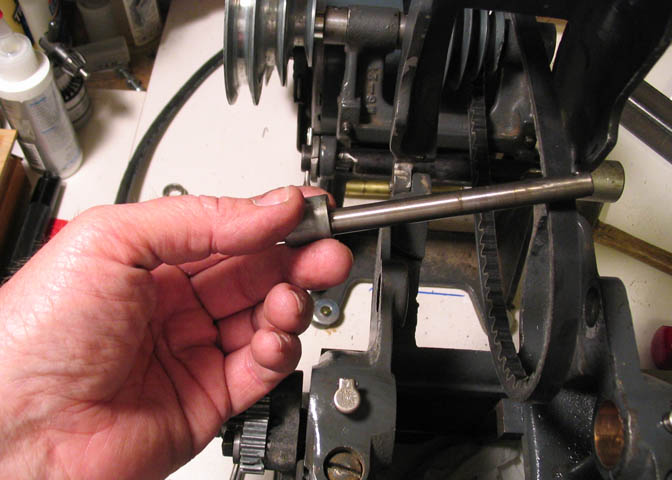
This is the eccentric shaft, and this is where we start.
All the parts have been cleaned well in solvent.
Start the eccentric into the back gear bore like this. Make sure it goes through the drive
belt, or you will soon be taking the whole thing apart again!
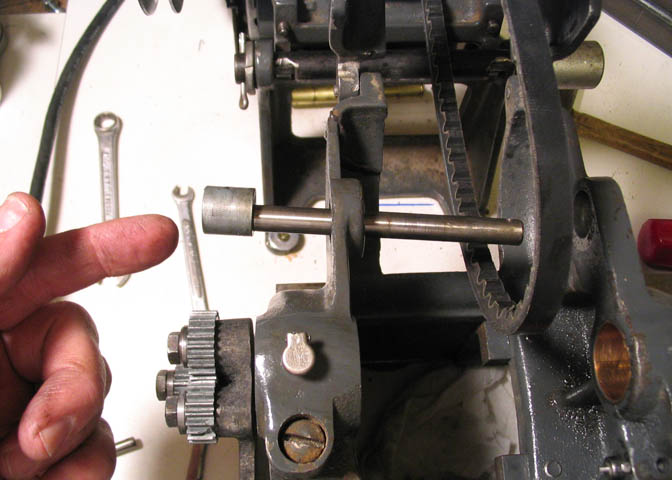
There are two adjusting collars in the assembly. Slip one of them over the shaft.
Just put it up against the bearing shaft for now.
Oil up the shaft well, in preparation for the next step. I use a light machine oil for this.
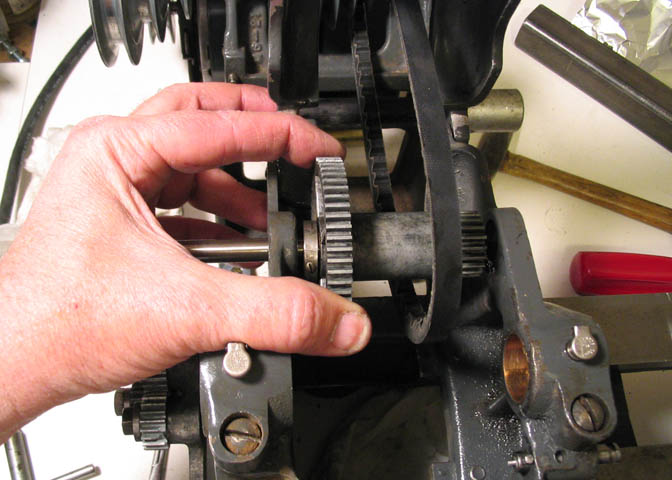
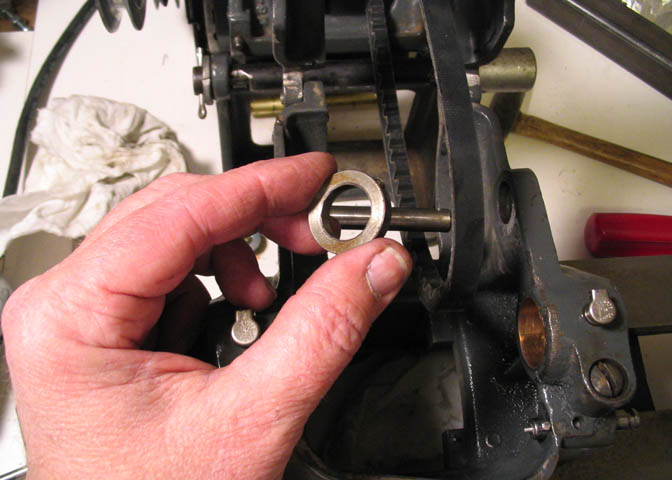
Now pull the eccentric shaft out most of the way and slip the back gear between the bearing
blocks, and push the shaft through it.
Just before the shaft comes through the other side of the back gear, slip the other adjusting
collar, and push the eccentric shaft through to hold things in place for the next step.
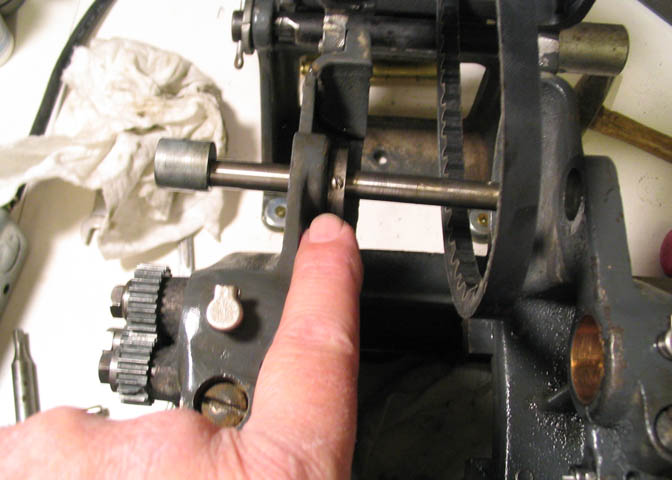
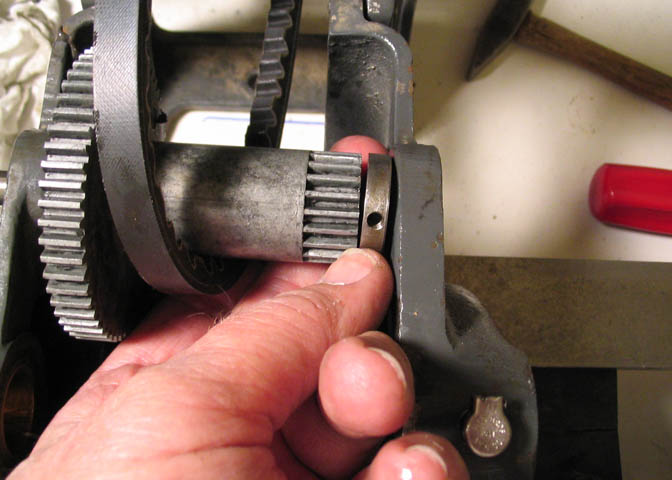
Now reach in with a couple fingers and slip the collar on the eccentric hub on the shaft, so
you can push the shaft the rest of the way through the bore.
Push it through until the end is flush with the casting.
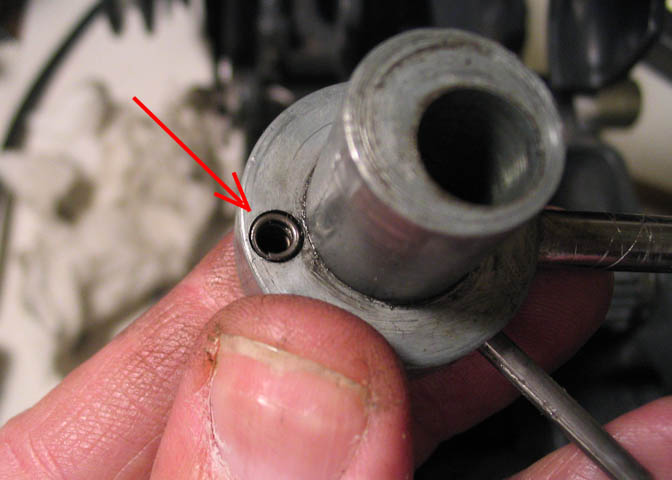
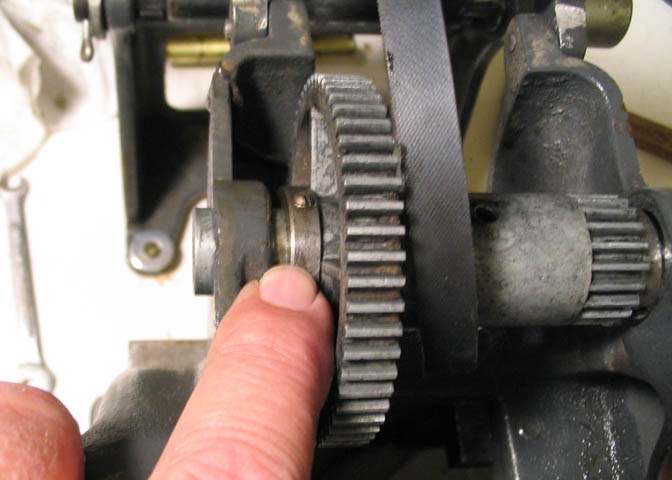
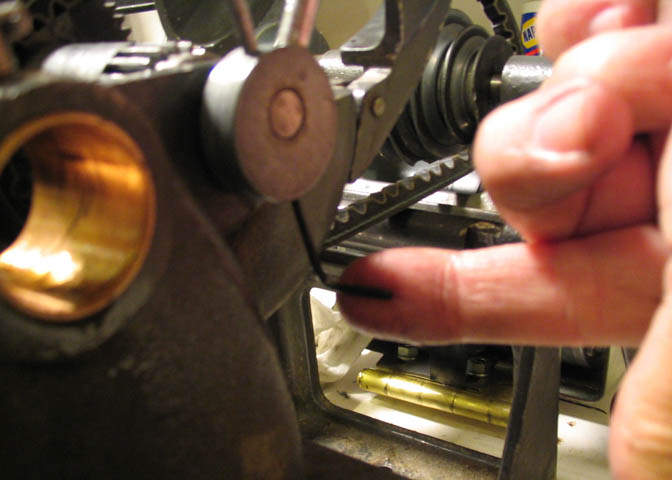
Now the tricky part begins. The eccentric handle has a spring loaded ball stop so it clicks
into position when the gear is engaged. The handle is sticking straight out to the right in the
picture above. The smaller rod pointing down to the lower right corner of the pic is the
drift pin that holes the whole shebang together.
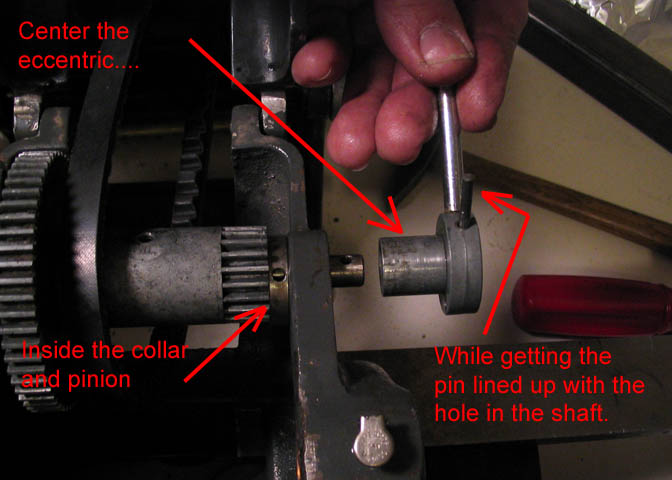
The above picture explains what has to happen fairly well.
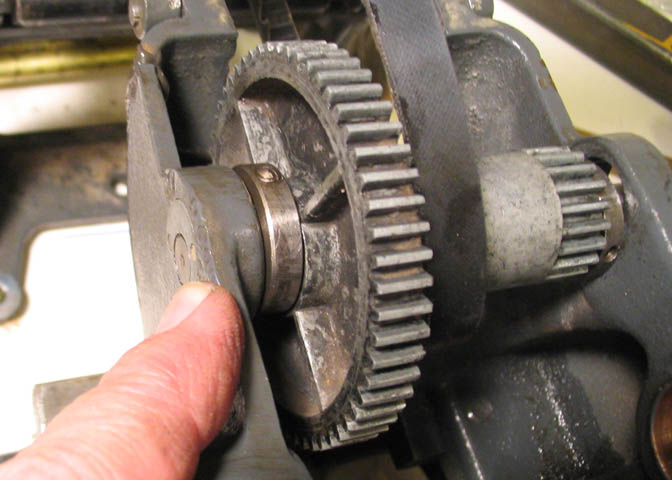
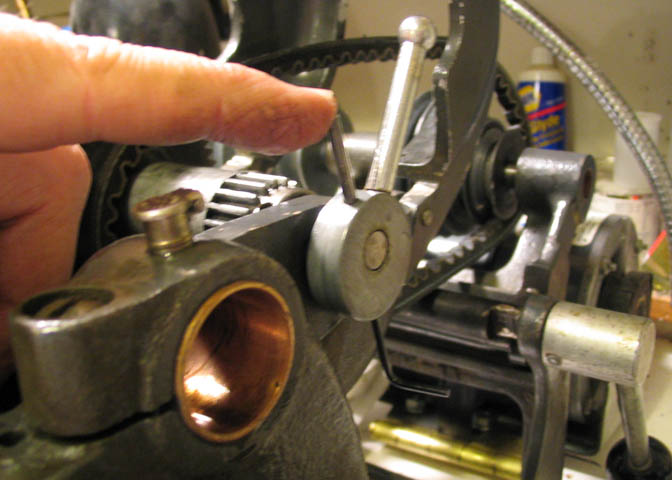
Slide the eccentric handle over the shaft, through the casting, through the adjusting collar,
and into the pinion gear. Don't let the spring in the handle fall out while you're doing this,
and try to get the drift pin lined up with the cross hole in the shaft. Simple!
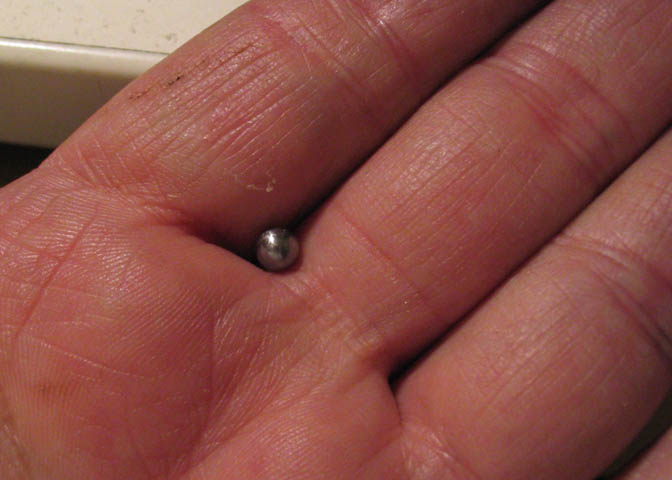
Now get the little detent ball.
And put it in the spring hole while holding the handle in so it doesn't pop back out and go
rolling under your work bench.
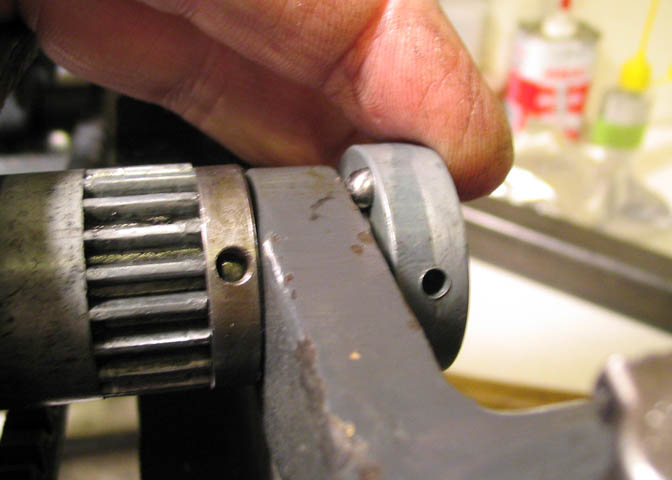
I used a small hex wrench to keep the drift pin lined up with the hole while doing all the other
stuff to get the handle mounted in place.
Once you have it lined up, tap the drift pin a little and remove the hex wrench, or whatever
else you may have used to keep the holes lined up. Then drive the drift pin home, and that
the assembly process is done.
Check that the back gear engages properly with the bull gear and spindle pinion, then tighten
the adjusting collar set screws. This last step has to be done with the spindle installed. It's
been taken out in the pictures above to make things easier to see in the pictures.
Back to the Atlas Pages
More Taig Lathe & Mill Projects
deansphotographica.com
(home page)
Copyright Dean Williams