Steel Jaws for the Taig Three Jaw Chuck
I get a great deal of use out of my Taig lathe, and the three jaw self centering chuck that Taig sells
for use on it. As it comes from the Taig company, the chuck has soft jaws. That in itself is quite
useful as I make a lot of small parts of brass, and work on a lot of existing parts for model engines
that are made from materials softer than steel. All in all, the stock soft jaws work fine.
Sometimes, I need hard jaws. Mainly for doing things like threading round stock in steel or stainless
steels. When running a threading die over harder metals the soft jaws will sometimes slip, especially
when the work piece gets larger. I decided to make up a set of steel jaws for use on the Taig chuck.
I'll probably leave them on most of the time. The chucks on my larger lathe have only hard jaws,
and they do have better gripping qualities.

The material is 1018 CRS. Any steel you have that machines readily would do fine. The cross section
of the stock Taig jaws is 1/2" wide by 3/4" high. That would be the size to use. I didn't happen to have
any of that lying around, but found some 1/2" x 1/2" square and some 1/2" x 3/16", so decided to silver
braze some pieces together so I could get on with the project.
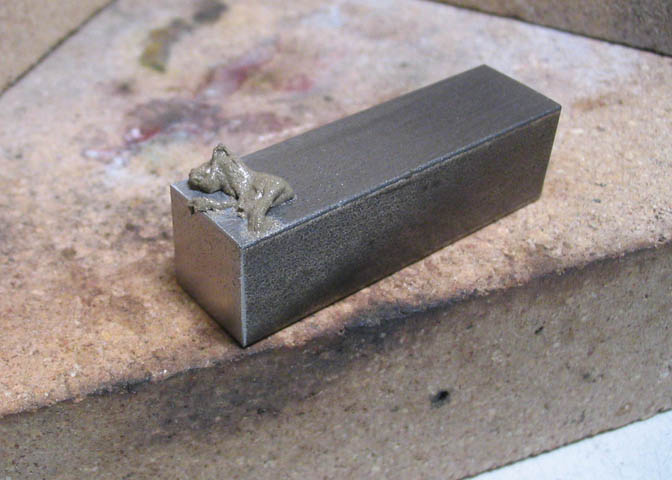
In the picture above you can see the two pieces needed to make one jaw, along with the brazing paste
I used. The paste is 56% silver and contains a flux. It's exactly the same alloy as the 56% silver
brazing wire I usually use for doing this kind of thing. The paste is pretty handy, but has a shelf life
of only about one year and costs about $25 per ounce. So, if you don't do a lot of silver brazing, you
would probably be better off using silver brazing wire for this kind of thing. Even better, use the
proper sized piece of material to begin with!
The paste is applied much like you would for putting tooth paste on your toothbrush.

The the two pieces are placed together, and excess paste is wiped off before heating.
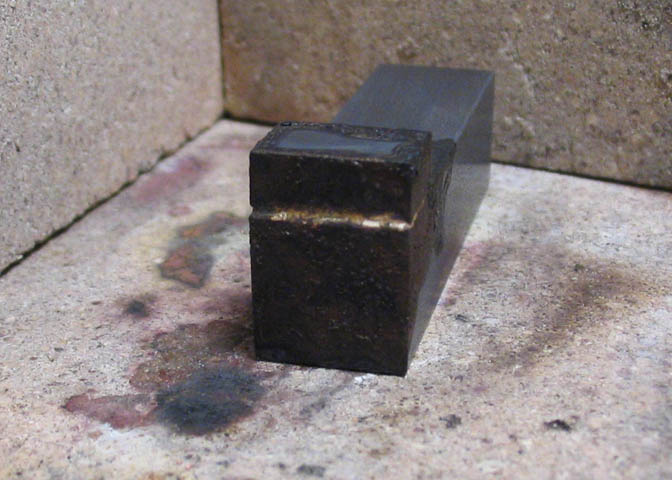
About five minutes with a couple of plumbers torches using MAPP gas, and the two pieces are bonded.
The torches are the kind that have 14 or 16 oz disposable fuel tanks, as made by Bernzomatic, & etc.
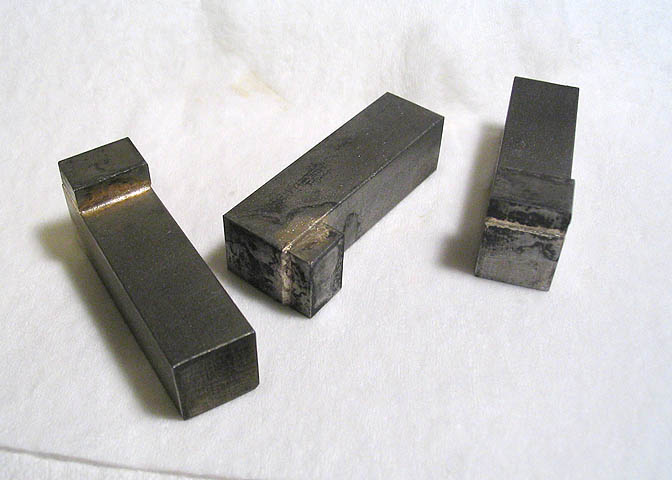
Here are the three pieces silver brazed together.
I would stress that these are silver brazed, not soldered! I wouldn't trust this job to regular soft solder.
You don't want those pieces flying off!
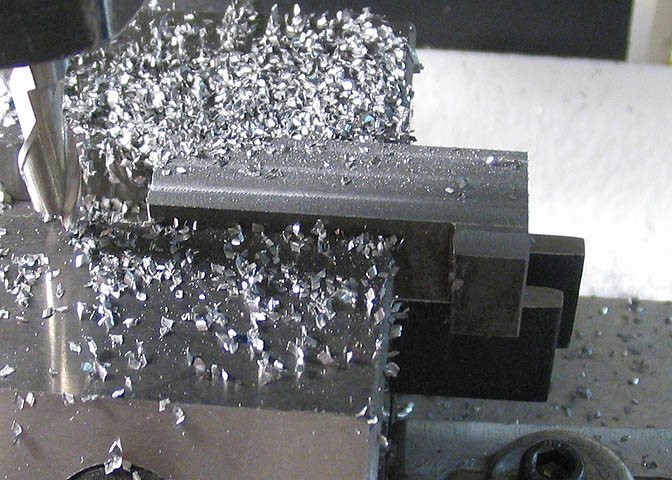
After brazing, the two sides of each jaw are cleaned up on the mill. I brought the final thickness
down to .460". Just a number I picked, as it will be easy to divide by two, later on.
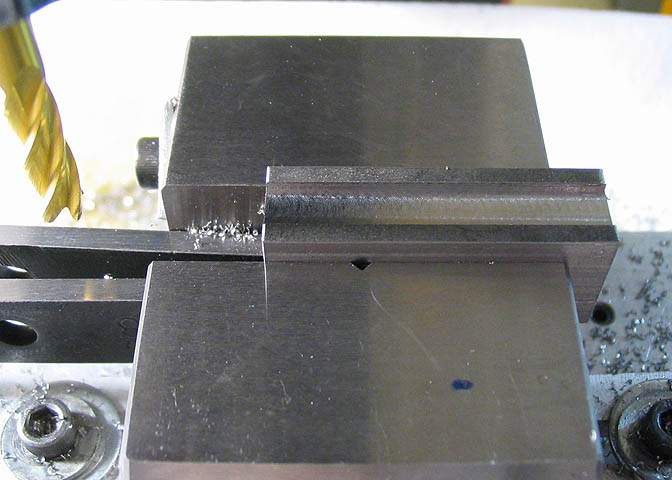
The bottom of each piece is milled down the middle for the mounting groove needed to attach
them to the Taig chuck.
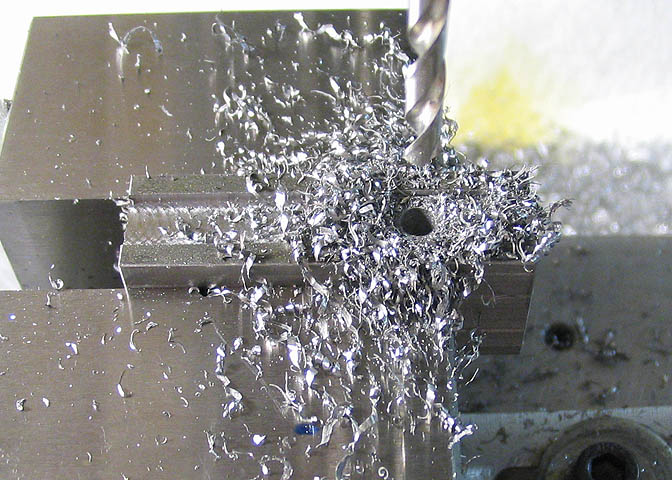
And while each piece is still centered from making the groove, the mounting holes are drilled.
The groove and the holes need to be done with good precision. Sloppy work will give you a
sloppy chuck.
The dimensions for the groove and holes are taken from the factory made chuck jaws
that come on the Taig chuck. It is important to get all three jaws the exact same length!
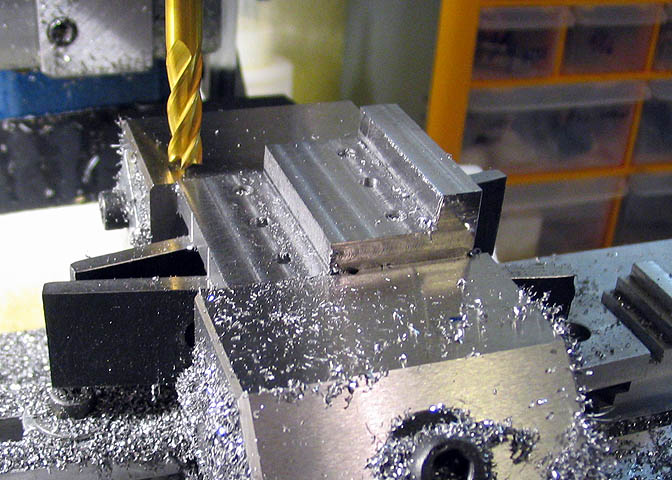
Turning the pieces over and clamping them all in the vise, the steps are milled in the jaws.
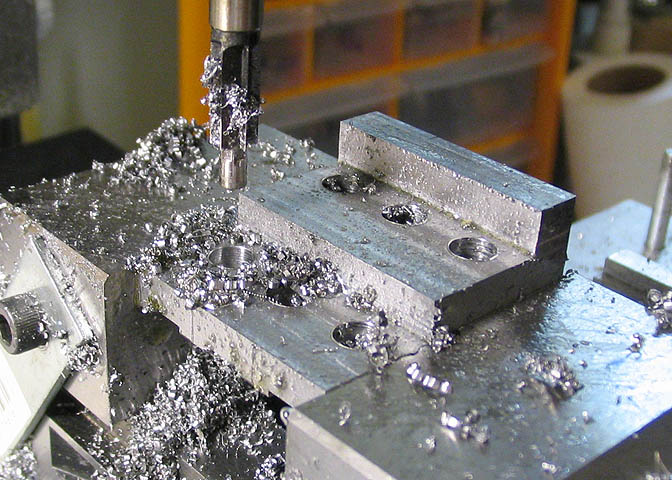
After the steps are milled, the top side of the mounting holes shown here are counter-bored for
the #6 socket head cap screws that are used to hold the jaws to the chuck.
Now the mill vise is slewed over to 60 degrees, and the front corners are milled off to make
the basic shape of the jaws. Mill them so you come out with a land in the center end of the
jaws that measures about .10" wide where the angles meet in the middle.
This will be cleaned up in the next step.
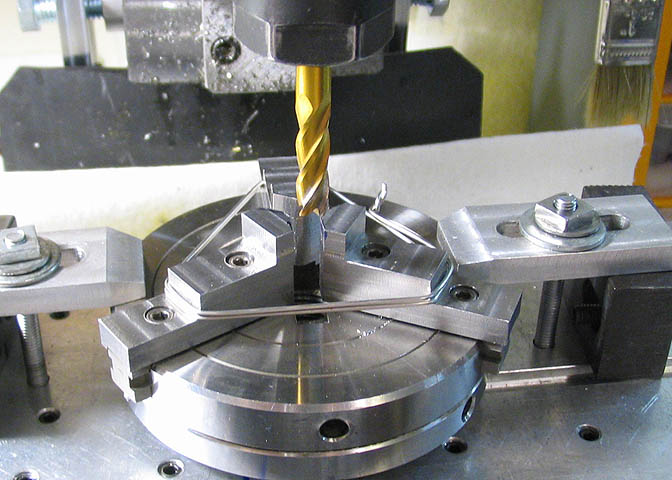
The jaws are now attached to the Taig three jaw chuck, and opened so there is about .2" between
the jaws. A strong wire is used to hold the jaws, and the jaws are opened tight against it.
I used the corners of the jaws (nearest the person viewing this picture) to get the chuck square
with the milling table. That is why it was important to get the individual jaws the same length,
as mentioned earlier.
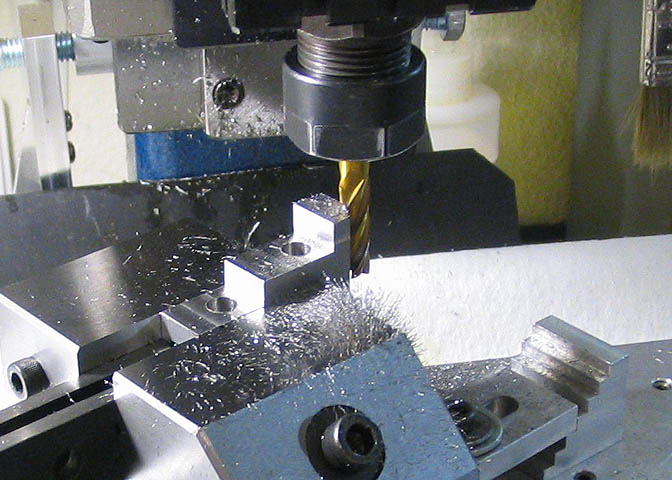
The chuck is clamped down firmly, and a 1/4" end mill is used to cut the "V" shape of the
jaws to final shape. Carefully center the end mill into the small slot in the face of the chuck
next to the jaws before making each cut, then take a number of cuts starting at the top of the jaws.
When you are done, each jaw should have a thin line down its' middle where the two angles meet.
Take care not to hit the chuck with the end mill.
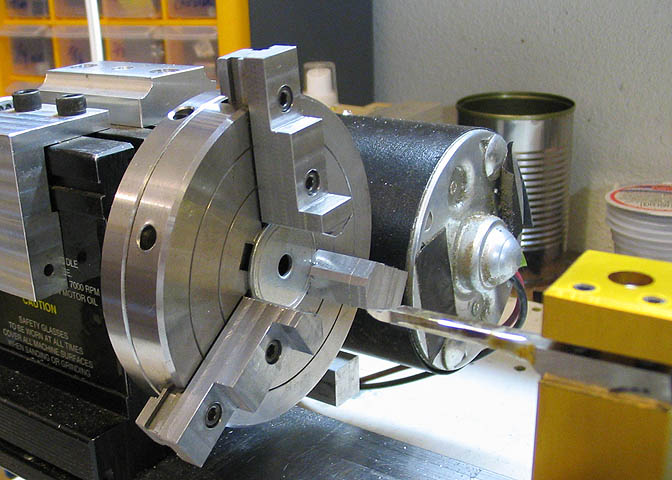
Now the jaws are trued to the chuck, just as the soft jaws were done when the chuck came
from Taig. A thin washer is put against the chuck face, the jaws tightened down, and
a boring tool used to skim the jaw faces inside. Take off only what is needed so each jaw
receives a small cut as they rotate.
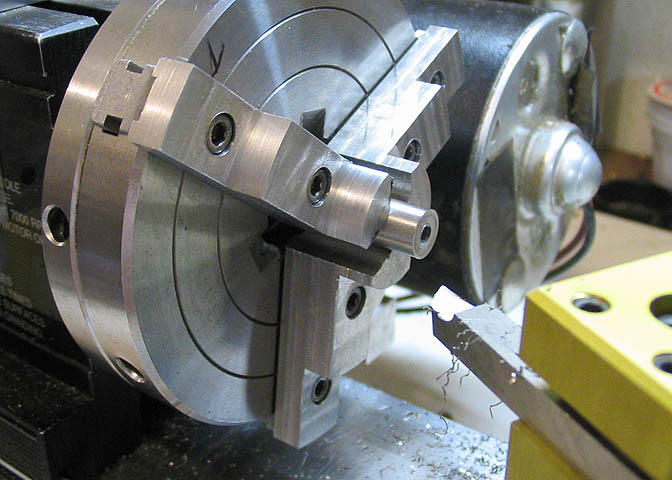
Finally, the jaws are tightened down on a smaller piece of round stock, and the outside surfaces
are turned to the shape of an arc on the end of each jaw step.
That's it. About a day of shop time, and a good result.
Below is a video showing the runout of the new jaws. Just about .001", which is very good
for any three jaw self centering chuck.
More Taig Lathe & Mill Projects
deansphotographica.com
(home page)
Copyright 1998-2010 Dean Williams