Compound Slide/Milling Attachment
Using the Taig compound slide as a milling attachment for the Taig lathe.
The compound slide for the Taig will do a good job as a milling attachment too. You have to rig up a few
things and make a few parts. It's an enjoyable day of doodling.
(Of course, if you don't want to doodle, you can just buy the factory Taig milling attachment.)
The first thing you need to do is remove the swivel on the bottom of the compound. It's easy to get off.
Take a look at it. You'll figure it out.
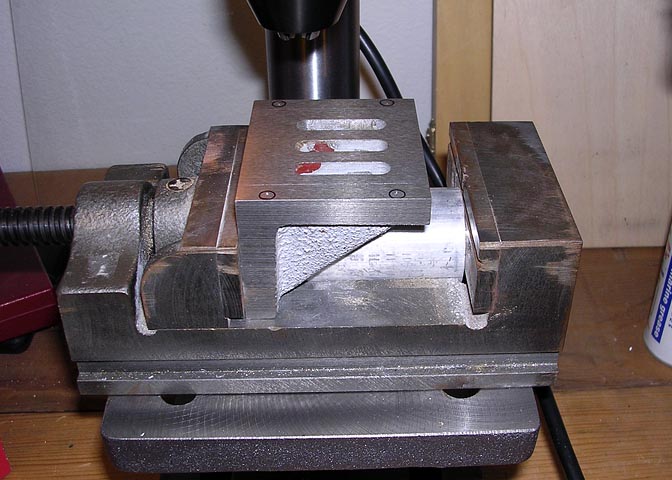
You'll need something to hold the compound in the vertical position to use it as a milling attachment.
I had this angle plate that I got from Enco a few years ago. They're only about $7, and ground at a 90 on
the finished surfaces. Here I have four holes laid out on the long leg of the angle plate. I'll drill them to
take 10-32 machine screw threads.
To be truthful, I have the angle plate in the vice the wrong way 'round in this shot. The flat leg of the angle
should be against the fixed jaw of the drill vise. That will keep everything square(er).
Lay your compound slide on the long leg of the angle to lay out the holes. The size plate I used is
2 x 2-1/2 x 3". One leg is 2" long, one 2 1/2", and it's 3" wide.
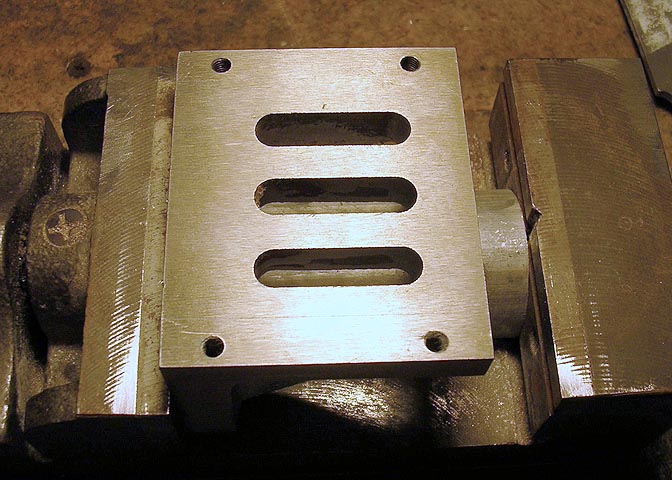
Drilling and tapping is done in this shot. The plate is of cast iron. Easy to drill, easy to tap.
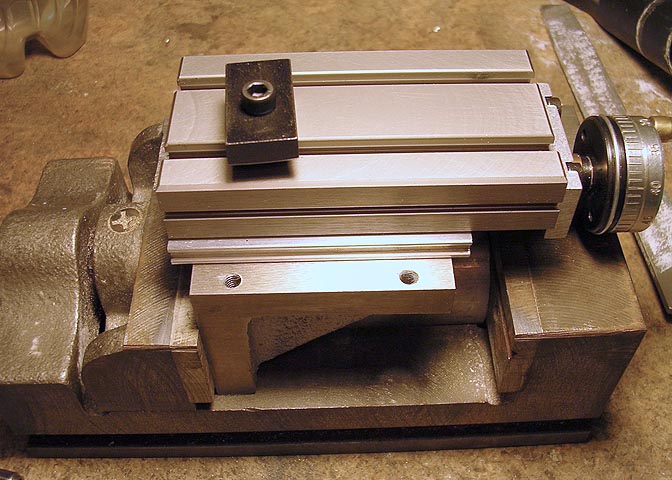
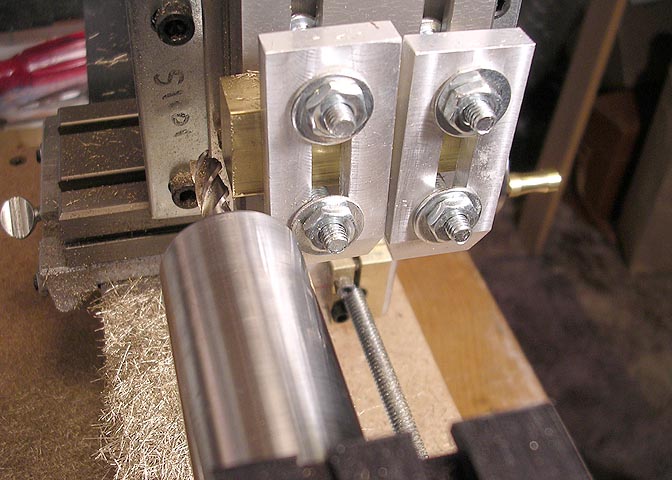
This is how the compound will sit when mounted to the angle plate. A piece of flat stock will go into the slot
that is milled into the edge of the compound base. A couple of shim washers under each side of the flat
stock on each side and a 10-32 machine screw in each hole will hold it just fine.
The small block at the bottom of the slide is the tool holder that is used when using the compound
for it's original purpose. It comes right off..

Here's a shot of the compound as milling attachment. But, nothing to hold the work piece, yet.
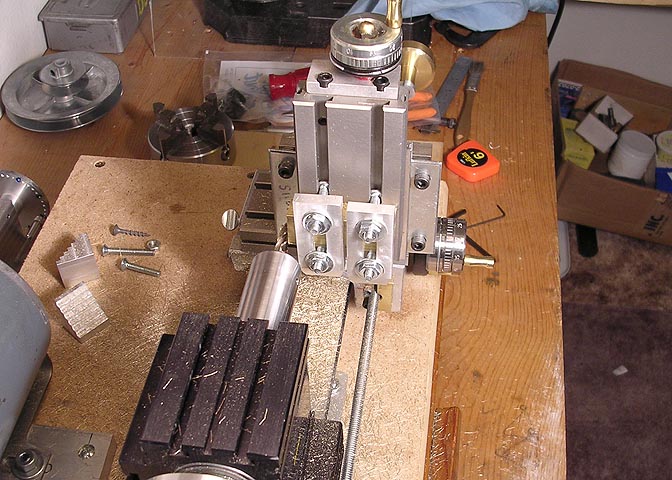
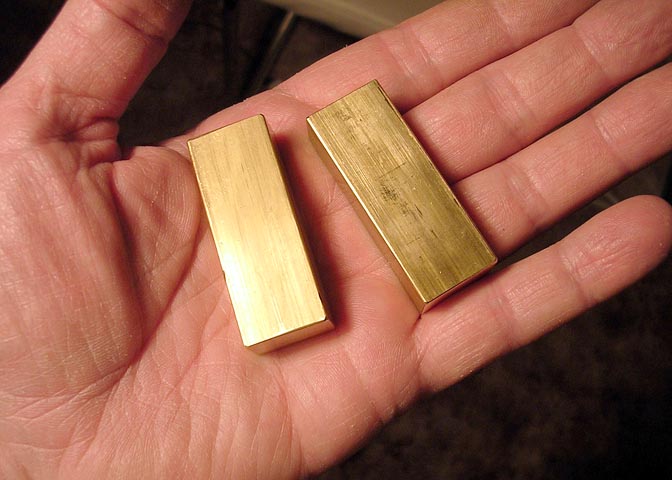
I need to make a couple of jaws or blocks that can be attached to the slide. I'll make something very similar
to the regular item that Taig furnishes. I made these of 1/2 x 3/4" brass stock, since I had some handy. Unless you're
really going to do some heavy hogging, even aluminum should do fine. You could use steel too, of course.
Here I've got one of the brass blocks held to the slide with a couple of finger plates I made a few years ago.
Just milling the ends off square, and to a length of 2".
A close up, for detail.
Milling needs to be done so the cutter cuts against the feed. In other words, this shot was taken after the
cut was made. The mill rotates clockwise in this shot. The work piece needs to start below the cutter
at the beginning of the cut, and the mill table is cranked upward, so the cutting edge of the mill is cutting
into the work piece as it travels. You're asking for trouble if you feed the work piece into the miller in the same
direction as it is rotating. Think about it. The mill will want to suck the work piece into it's cutting edges.
That can cause problems, particularly for small machines.
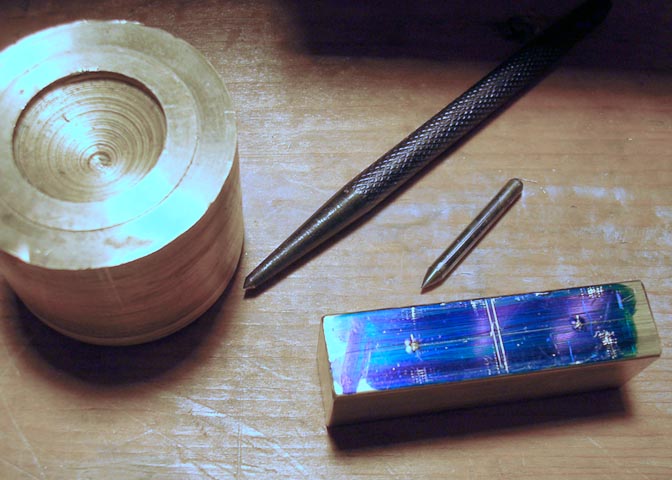
Once I had the ends squared up I gave the edges a little touch up with a fine cut file.
Now mounting holes are laid out. The center of the holes needs to be in line with the T slots on the slide
so they will mount up. The thing on the left is a whacker. It's taking the place of the brass headed hammer
that I haven't made yet. Soon...
I drilled out the needed clearance and tap holes, filed things up smooth and shiny and mounted the
two blocks on the slide.

Looks like this now. Very much like the way Taig does it. (No use re-inventing the wheel!)
More (Taig) lathe projects
deansphotographica.com (homepage)
copyright Dean Williams
6/07