Taig Mill
If you got here from my lathe projects page, you probably know I have a Taig lathe.
I use it for my turning projects, of course, but for the last couple years I've used it for
all my milling projects too, with the help of a milling attachment. You can get a lot
done with a lathe and milling attachment. Just about anything you need to mill can
be done on the lathe, with one restriction; the job can't be too big. Milling on the lathe
is also a bit time consuming, which brings me to the Taig milling machine.
I have a production job coming up for some parts that I usually make in small runs
on the lathe/milling attachment setup. The parts made in this manner are the quality
they need to be, but it takes me quite a while to make up a run of 10 of them. Some
of the work on them is turning round bits, but the majority of it is milling work, and if
I'm to make a bunch of those parts a small milling machine is what I need.
That's one reason to get one.
The real reason might just be that I've been thinking I want a mill for a few months.
That, and the Taig factory is having a sale on their 2017 model mill for a crazy low
price. So I ordered one, and when it showed up a few days later I took some photos
of the assembly and setup.
(Look, if you want to see some good setup info on these mills,
check Nick Carter's site. I'm just messing around here. Nick
has the serious poop).
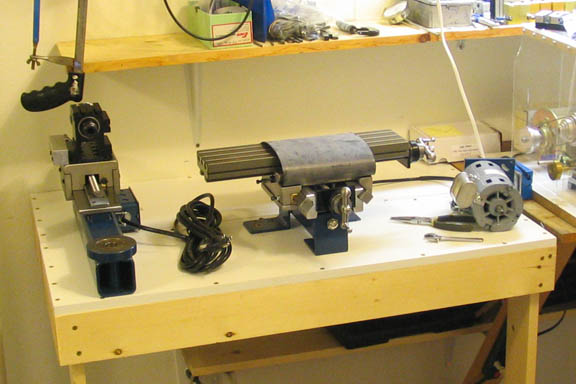
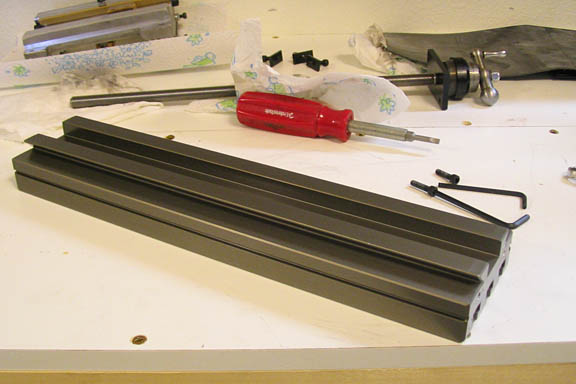
The mill comes in two boxes, and this is what you get. It's completely assembled
except to be broken down enough to fit in the shipping cartons. The column, the
base, and the motor. They also include a small box with a few bits. T-nuts, cap
screws, and things like that.
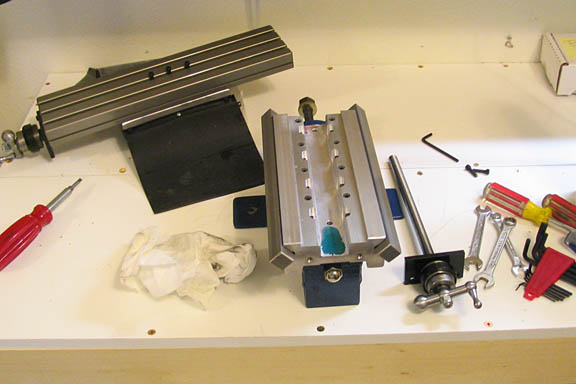
Foremost in this shot is the Y axis bed. I've removed the lead screw from it.
From what I see, I believe you can just bolt the column to the base, bolt on the
motor, and go to it. What I mean is, the stuff I did here is probably not necessary.
I chose to remove the X, Y, and Z sliding components to have a look around.
(I just wanna see...) I didn't find anything that shouldn't be there except a few specks
of saw dust, probably from the wooden base inside the boxes that the pieces are
bolted to for shipping.
I cleaned it and re-oiled the ways, then set it aside.
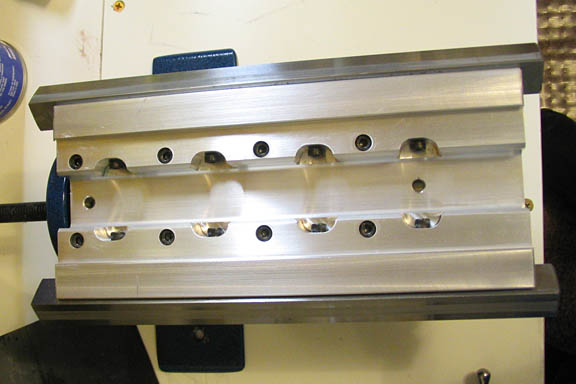
This is the Y axis saddle, which is also the X axis ways. I've
cleaned the ways top and bottom, then re-oil and set it out of the way.
I remember reading a caption on a picture somewhere that had a
question about these "nicks" in the bottom of this casting. Pretty sure
they are to hold and distribute oil. Like prismatic ways you see on some
machine tools.
The X table. Again, lead screw removed, and everything cleaned and re-oiled.
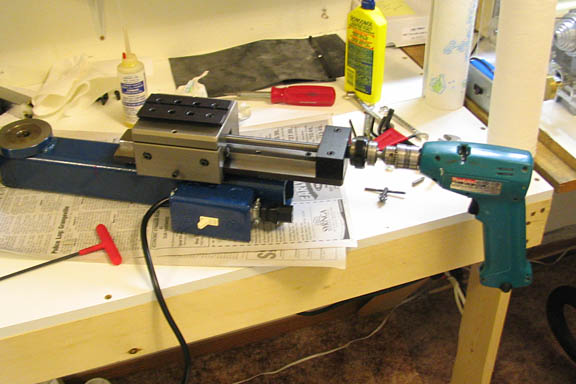
Now, after I had re-assembled the X and Y carriage/table assemblies, I checked
the backlash in each and found it to be .0015", which is pretty darn good on a
manual mill fresh from the factory. Checking it on the Z axis, it was .003", so I
tightened the backlash nut just a tad to bring it to the same amount as the other
movements. Then I started cranking the Z axis handle back and forth to seat in
the threads a bit. Well, I got tire of that real quick. I took off the ball handle and
chucked up the end of the lead screw shaft in a Makita. In four or five minutes
of forward and reverse on the drill the back lash nut seated in nicely.
If you do this, be careful not to muck up the threads on the end of the shaft.
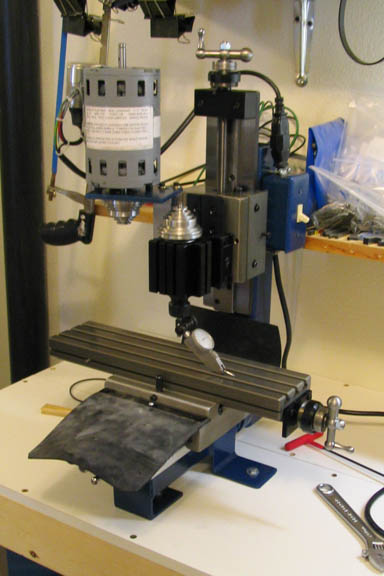
After putting everything back together, I bolted the column to the base and
used a square to get it in the ball park. Then I swept over about 5 1/2", which
just happened to be how far my indicator set up would reach. After a little bumping
and nudging on the column, I got somewhat less than .001" for a reading over that
distance. Plenty good. Tighten the column and check again.
Done, and done.
Mount up the motor, true the belt, and all set.
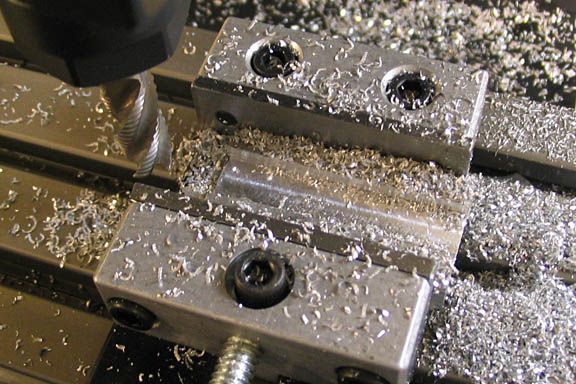
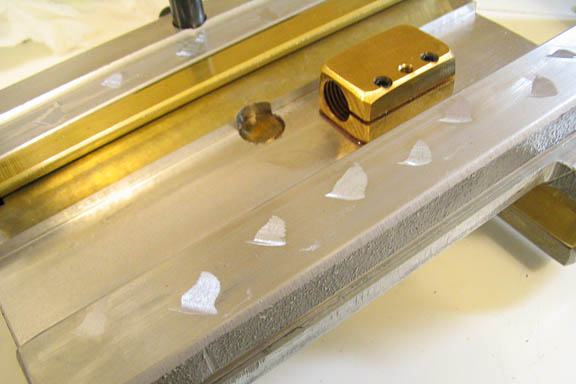
I ran a quick test piece, just to get an idea of what's what for speeds, feeds, and
depth of cut with this mill. I've used, (and owned) small milling machines, (and
larger ones, too). This little mill is plenty stout, for it's weight class.

A .125" depth of cut with a 3/8" roughing end mill in one pass is pretty fair. The
machine is certainly up to it. I got no chatter. The little 1/5 hp motor struggled a bit with
this cut, but that's no fault with the mill. No fault with the motor either, really. Roughing
end mills are actually made with a lot more horse power in mind. Still, it fed through
this cut in a couple of minutes.
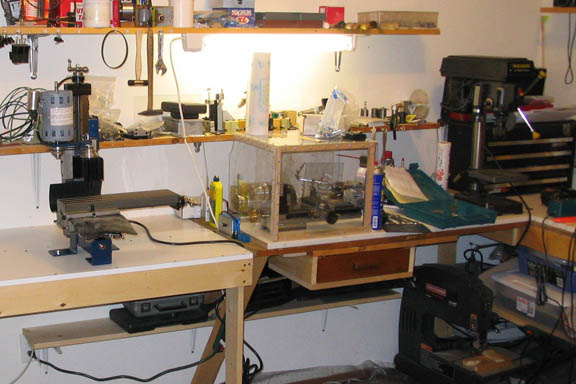
So, this is the machining side of the shop now. It's about full.
The Taig mill is a dandy piece of equipment. It is kind of a contrast to
the Taig lathe, in that, where the lathe offers itself up to a number of
projects that can be made just for the sole purpose of adding to the lathe,
the Taig mill is kind of "done" when you get it. That is, the mill has lead-
screws everywhere, floating dials, motor and motor mount, drive pulleys,
and stuff like that. I don't have to make anything for this mill for it to have
full capabilities... I guess I'll get by.
More Taig lathe projects
deansphotographica.com
(home page)
Copyright Dean Williams