A Flycutter for theTaig Mill
Having a new mill in the shop means tooling up for it. You can buy lots of
ready made accessories for the Taig. Much of what can be bought can also
be made in the home shop. For my part, I usually make what I can, and
spend the money I save on things I can't, like end mills and tool bits.
I had, at one time, lots of tooling for the small mill. Some kind of madness must
have come over me though, and I sold much of it when I sold my previous mill.
So, it's kind of like starting over, making many things I've already made in the past.
This flycutter is adapted to the Taig mill using ER collets, but it can be made
for any mill by making the necessary changes to fit the spindle.
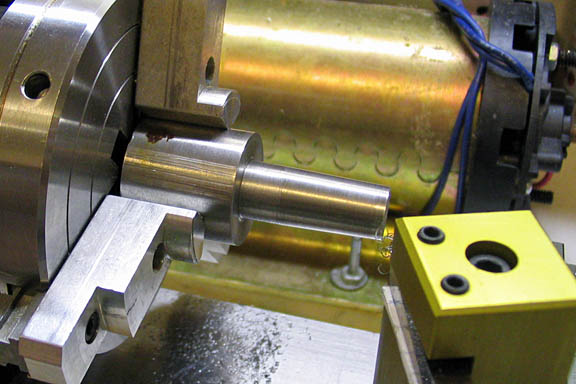
I had this piece of stock that I had used for a test piece for a taper and then had
thrown in my scrap box. I don't know what alloy it is. Some sort of CRS.
I turned down the small end to .375" dia and a length of 1 1/8".
The large end was one inch dia to start with, but by the time I got all the nicks and
scrapes out of it for a smooth finish, it was down to .9" dia. and a length of one inch.
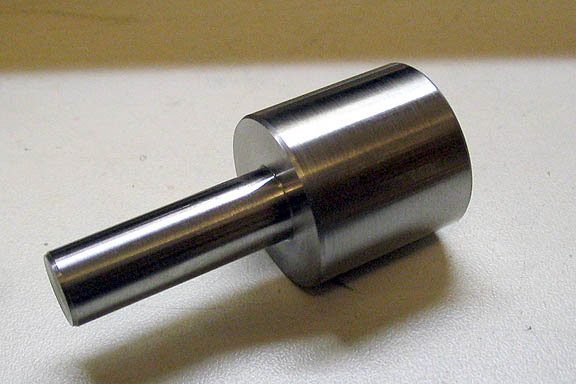
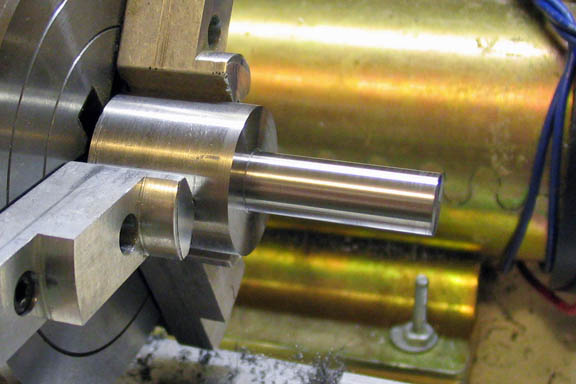
The piece with the lathe work done.
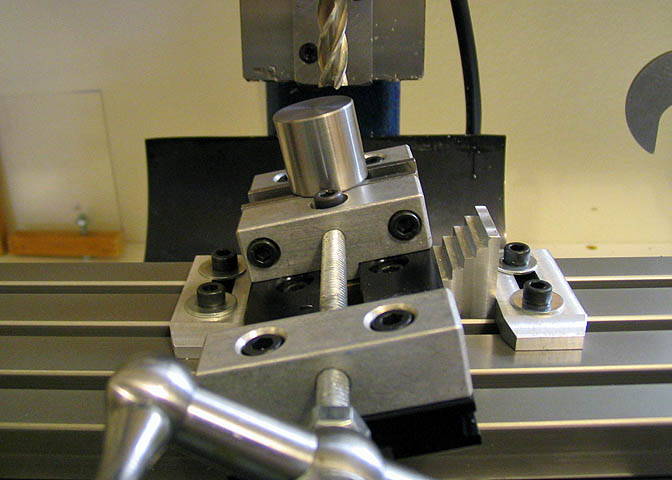
Now, not having any other way of holding the piece at an angle (for the time being),
I trussed up the standard Taig milling vise good and tight with a step block under
one side to provide an angle of 20 degrees. Finger plates on each side of the vise
keep it from trying to jump off the step block. Long mounting screws were used in
all four of the vise mounting holes. The the top surface, (which is really the bottom
surface) is milled flat.
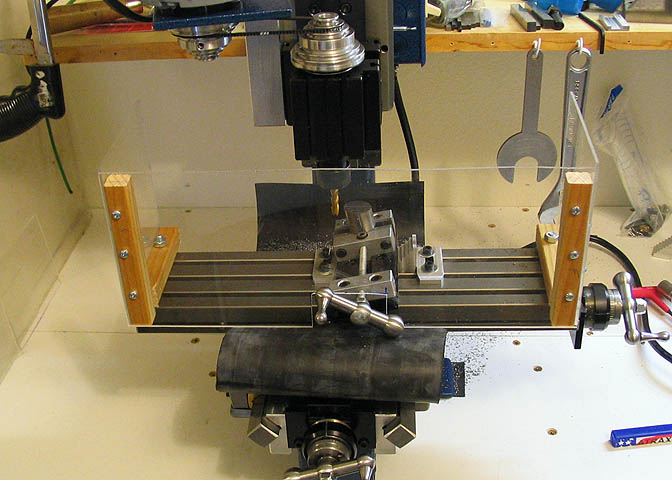
This shot is just thrown in to show my small home made chip guard. Chips still get
thrown all over the place, but the guard keeps most of them from coming straight
back into your lap.
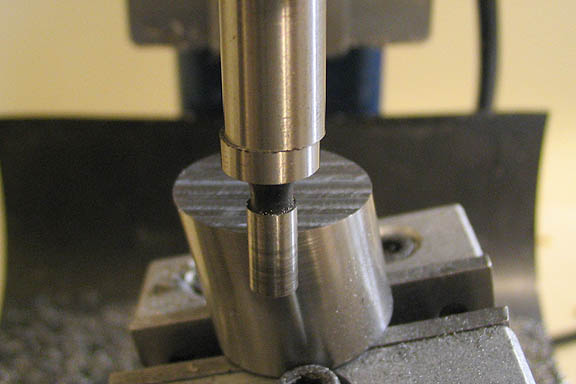
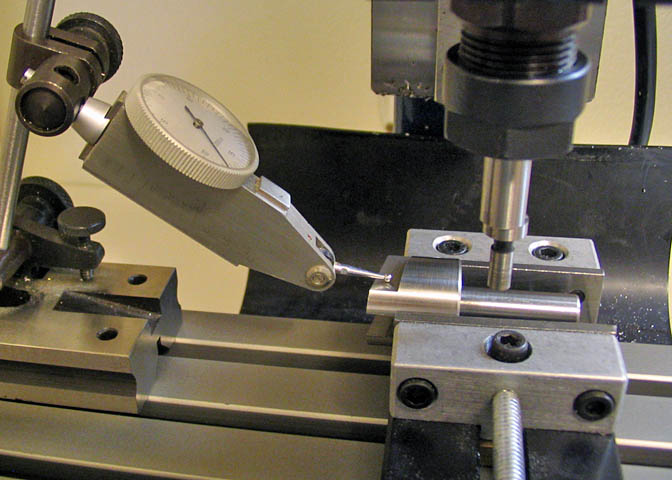
Once the surface has been milled flat, an edge finder is used to locate the near edge.
Then the edge finder is replaced with an end mill and the center line of the work piece is
dialed in by coordinate.

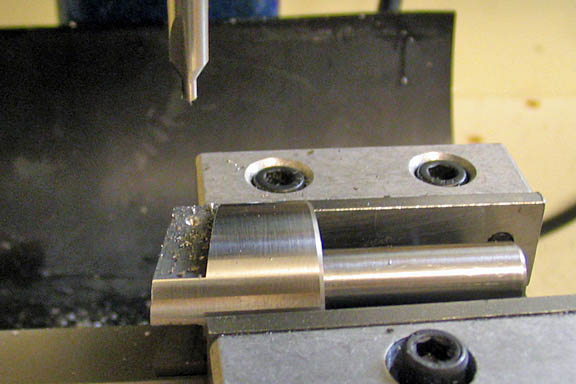
This flycutter will be for use with 1/4" tool bits, so a 1/4" end mill is used to cut the
slot, 1/4" deep. This took about 6 passes. I don't use coolant, and I don't want to
break the end mill, so I go easy on cuts in steel.
Just in case anyone would like to know, the end mill is TiN coated
solid carbide. This one is made by Atrax, and I've used it a lot for cuts in steel, again
with no coolant. It's still as sharp as when it was new as far as I can tell. A pretty good
product. They are a little expensive if you pay full price for them, but Enco Tools often
has them on sale for around $10-$15. I've got a number of carbide end mills from this
company and have not been able to dull one yet.
They last a long time.
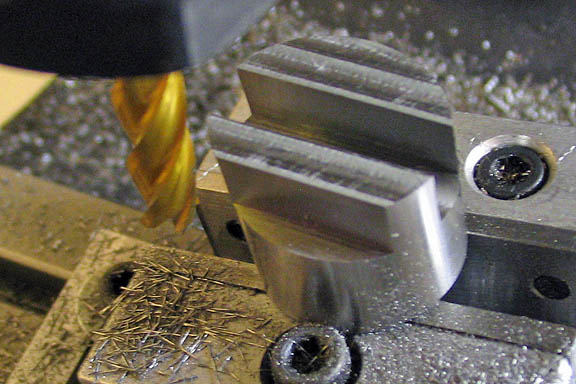
After the tool bit slot is cut, the Y table is cranked in and a flat is milled for the set screw
holes. Make the flat to suit your style. This one is 3/16" deep by 1/4" high.
Now the mill vise is removed from its' angled position and mounted flat on the table.
The flat just milled is indicated in and the piece rotated in the vise until you see that
you will get a flat surface for drilling the holes for the set screws.
I used an edge finder again to locate the edges on the flat and then dialed in the X
and Y movements to position the piece for spot drilling, and through drilling.
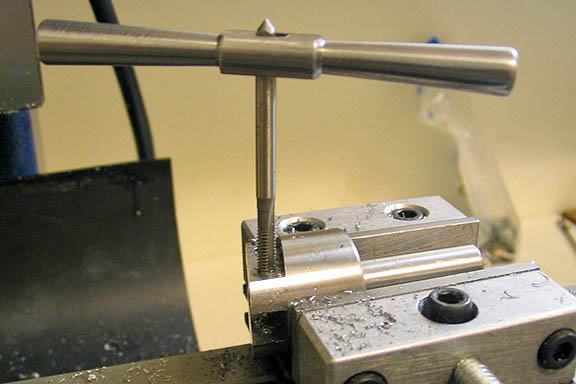
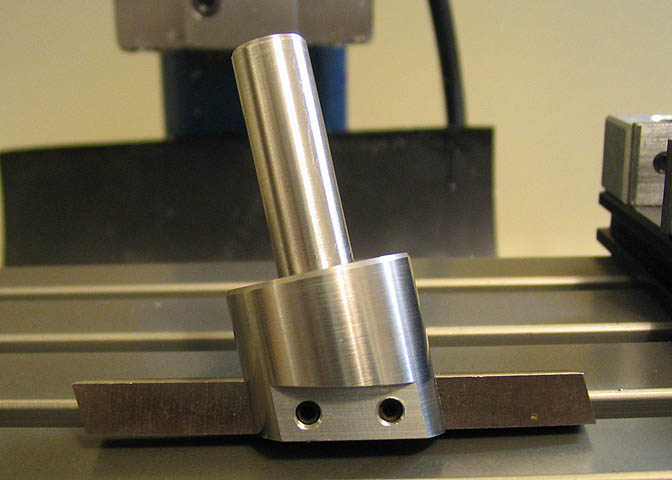
The (two) holes are tapped for 6-40 set screws and the flycutter is done. Just a
light touch with a file on any sharp edges removes burs left by milling.
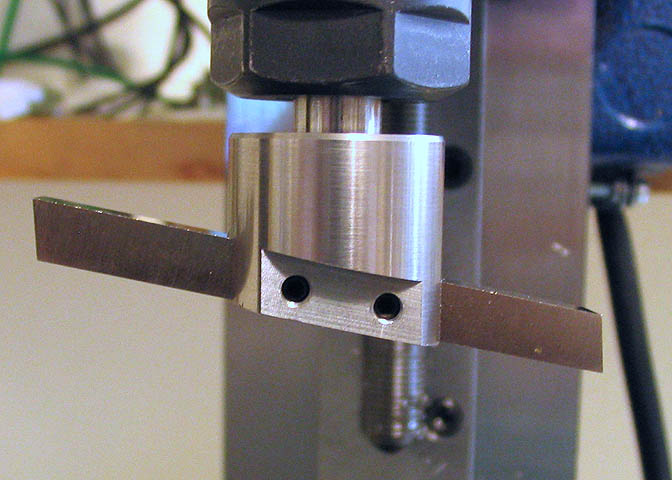
And here we go, mounted in the mill spindle. (The tool bit hasn't yet been
sharpened for flycutting.)
Last shot.
More Taig projects
deansphotographica.com
(home page)
Copyright Dean Williams