Mill Tramming Braces for the Taig Milling Machine
Make your tramming chores easy!
I made these for my Taig mill some while back. They are not intended to stiffen the Z axis of the
mill so much as make tramming the mill an easy task. Actually, I don't have any problem with the
rigidity of the mill, and I don't think these braces are needed for that, but they sure do make
tramming it a quick and frustration free operation.
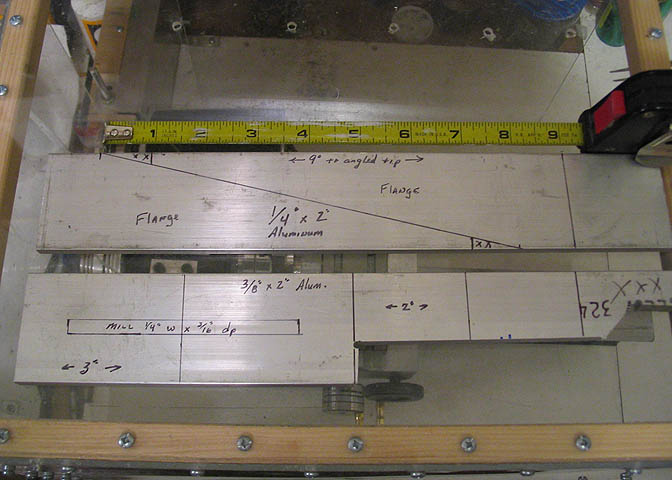
I used what metal I had on hand. The upright flanges are made from 2" x 1/4" aluminum flat bar,
and the base mount and top adjustment blocks are from 2" x 3/8" thick aluminum flat.
Look closely at the picture and I think you can see all the measurements needed. There is plenty
of room for improvisation. Use what you've got.
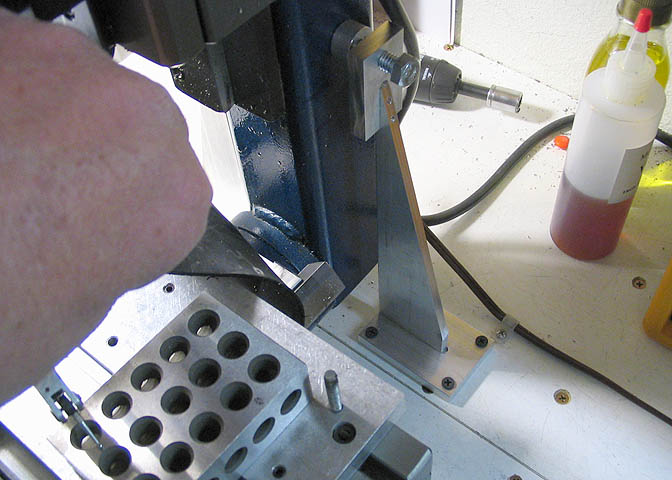
Cut out the basic shapes of the main upright flange, and square up the ends.

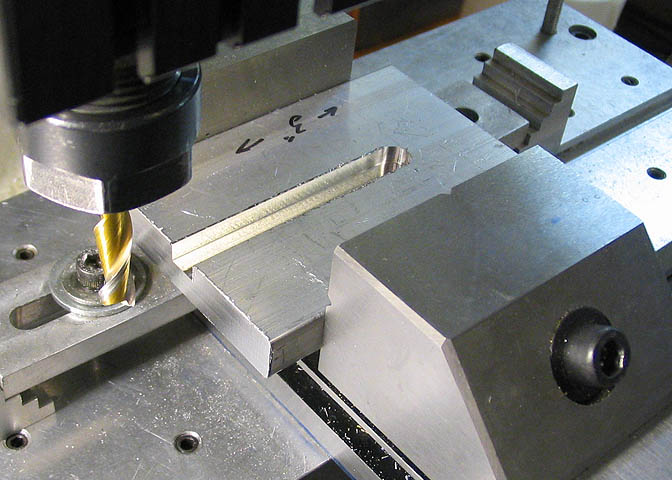
Then, keeping the bottom squared ends together, clamp them in the mill vise so you can make a clean
cut along the angled edge on the pieces. I used a small bubble level to get the rough cut angled edge
approximately level. Machinist clamp on the right end keeps them from vibrating as you cut.
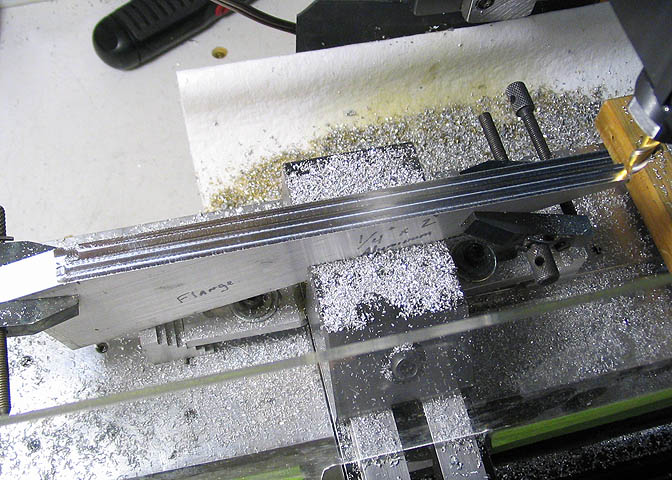
Once the angle is clean and even, cut the thin ends flush with each other.
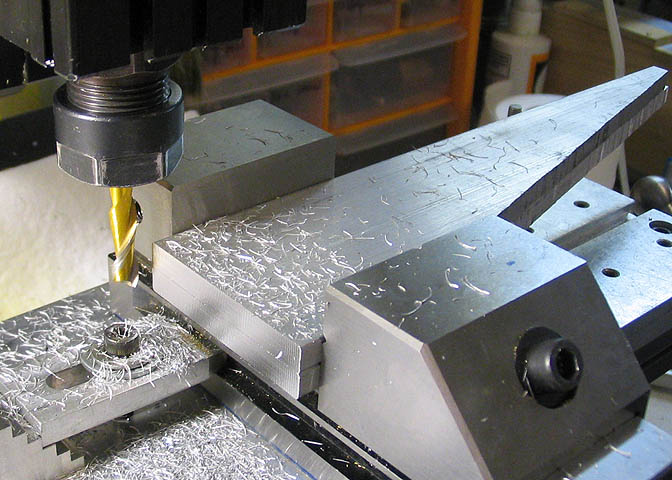
For the base piece, start by squaring off the ends.
Then mill a slot to a width that will fit your angled upright pieces. In my case, these are 1/4"
wide, 3/16" deep, and 2" long.

Check that your pieces fit, like so.
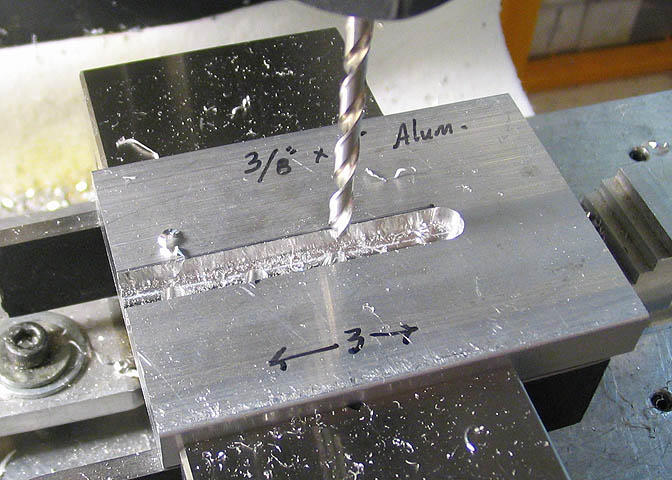
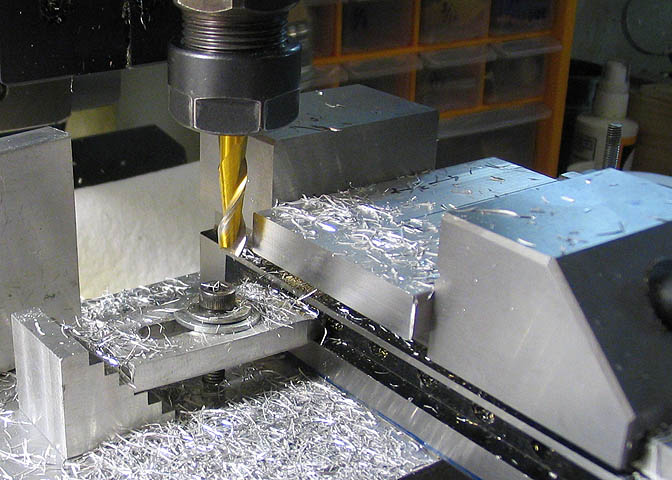
Now space three holes out and drill to clear #6-32 machine screws.
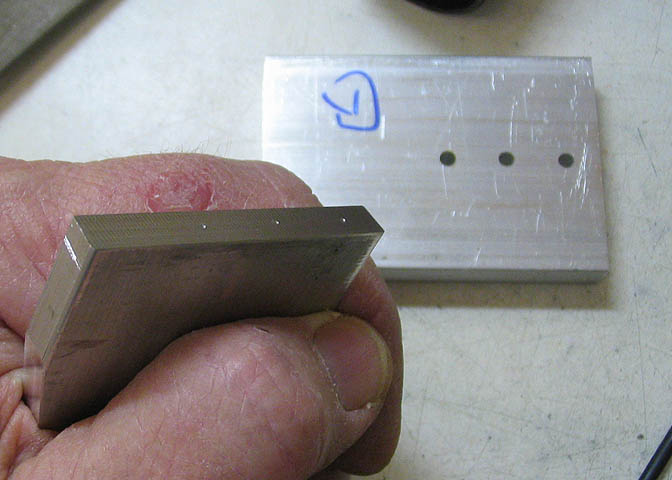
Then put the angled flange in the slot in the base, and use a transfer punch to punch mark the bottom
of the flange, as shown. Drill and tap these punch marks for #6-32 threads.
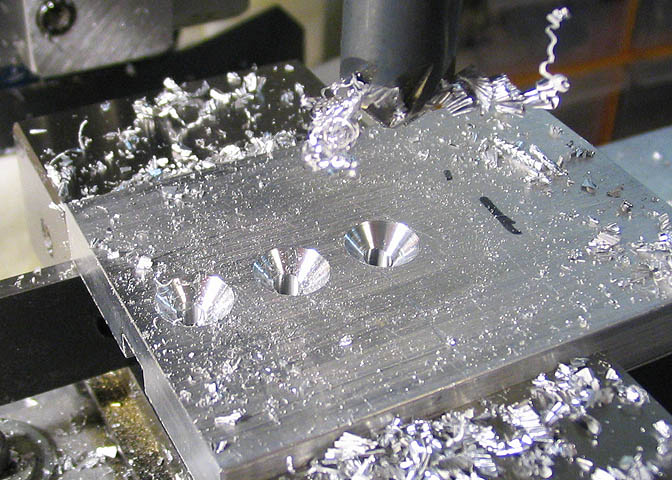
After you've punch marked the angled uprights, countersink the holes in the bottom of the base piece.
The small blocks that go on the top of the angle flanges are also made from 3/8" aluminum.
These are done similar to the larger base pieces, including the slot on one side and clearance
holes for #6-32 machine screws. Last step on these, drill and tap for your jacking screws,
which will be used to move the Z axis column to the right or left. I used 3/8"-16 threads for this.
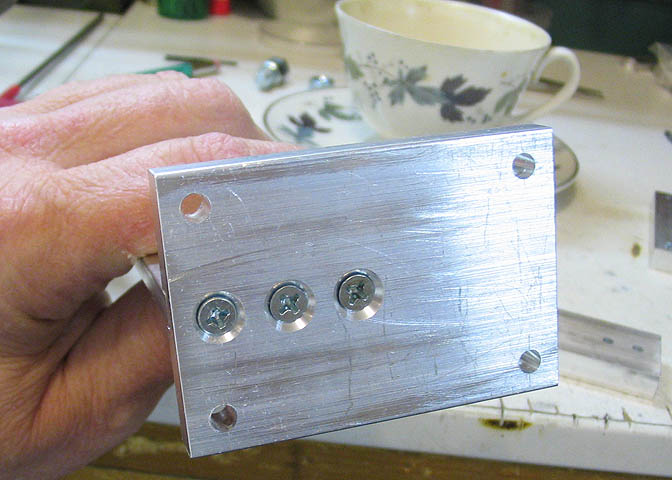
Drill a hole in each corner of the base mounting block for attaching the braces to your bench.
Then attach the base and angled flange pieces with #6-32 countersink machine screws.
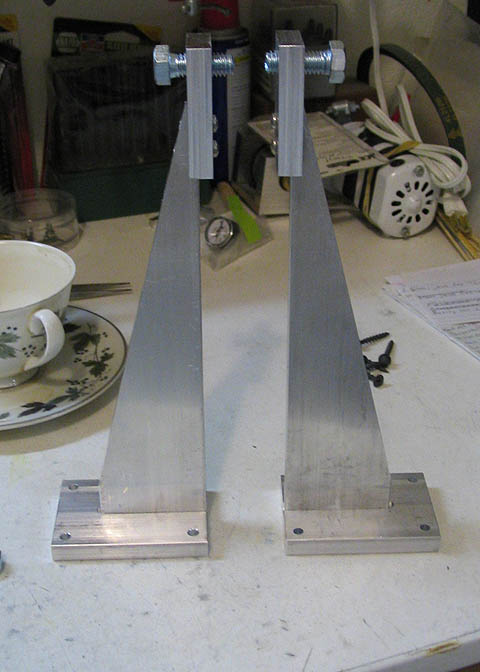
The top pieces are attached in a similar manner.
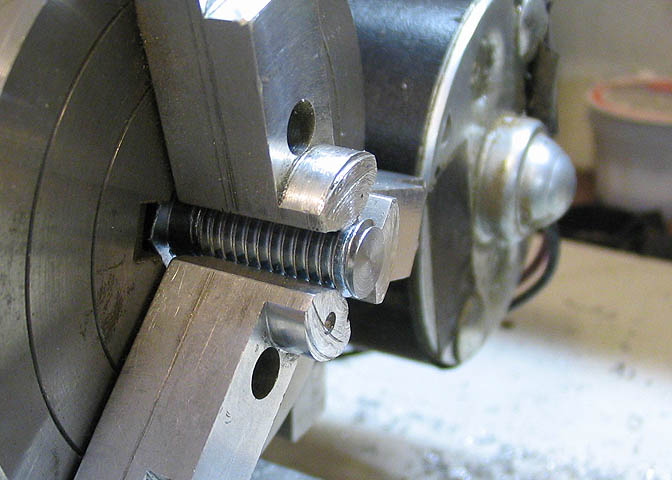
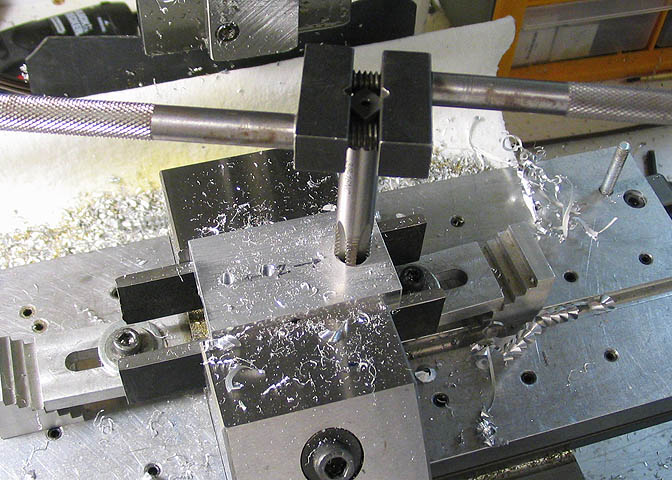
The jacking screws should be faced off so they don't try to twist the braces when they are tightened.
I also made two "pads" that fit on the end of the jacking screws so the screws do not chew up the
paint on the milling machine.
That's about it for these things.
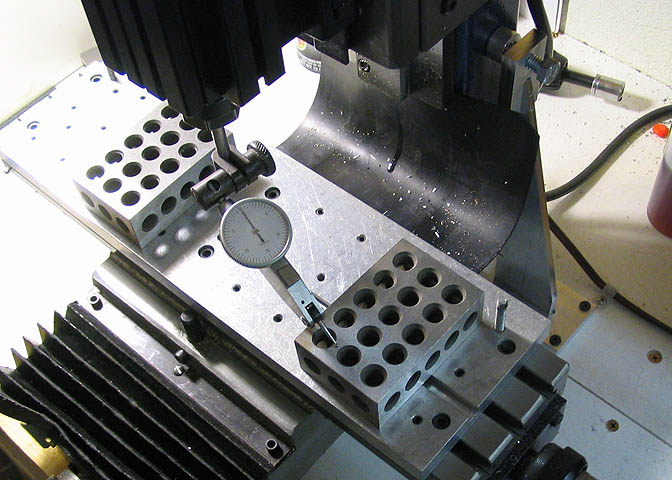
As I mentioned, I just use these things for tramming. Slightly loosen the large nut on the back of the
Z axis, then as you sweep your mill table with the mill spindle, you can loosen and tighten the jacking
screws on the left and right braces to quickly get the mill trammed. Then re-tighten the large
nut on the back of the Z, and it's done.
To Return to the Main Page, Click the Link Below:
More Taig Lathe and Mill Projects
Copyright 1998-2011, Dean Williams