A Better Tool Post for the Craftsman 109
The little lantern tool post that comes standard on the Craftsman 109 is kinda
cute, but what this lathe needs more than "cute" is rigidity, and it needs it
everywhere possible. A short, solid tool post will help, even if only a little.
It all adds up!
Starting with a piece of HRS from 1 1/4" square stock, a 1 1/8" long piece is cut from it, and put
into the mill to clean it up. All sides are fly cut to get rid of the scale and surface imperfections
that come with all hot rolled steel stock. By the time all sides are faced, it will be a little
smaller than the original piece, but the exact size isn't important. This piece came out to
1.230" x 1.10" when it was finished off.
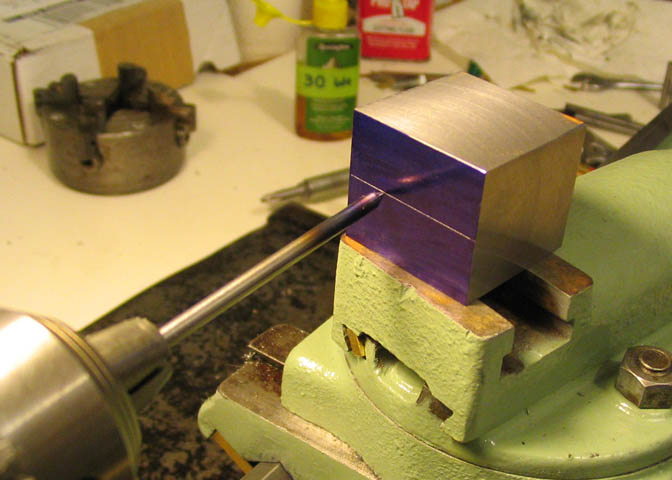
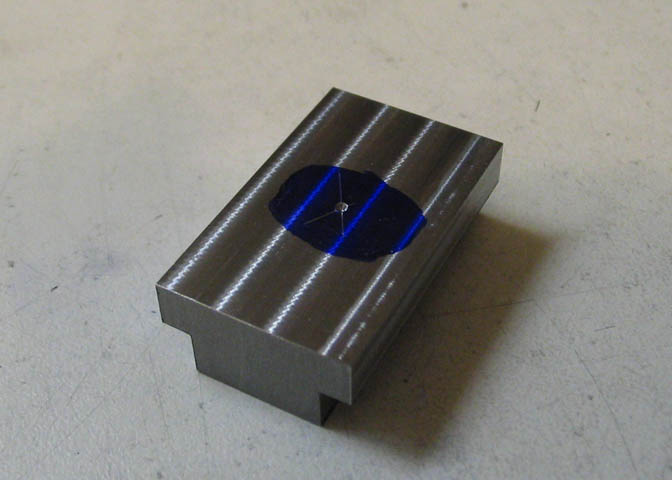
The piece is blued and set on the compound slide with the shorter dimension as the height.
A scribe is put in the head stock chuck, and the piece is marked on opposing sides. The
bottom of the piece should be marked with a "B" or some other identification so the proper
side of this line is milled away.
The line is the center line of the spindle, and will be used as a reference to the top surface
of a tool bit for the initial milling step.
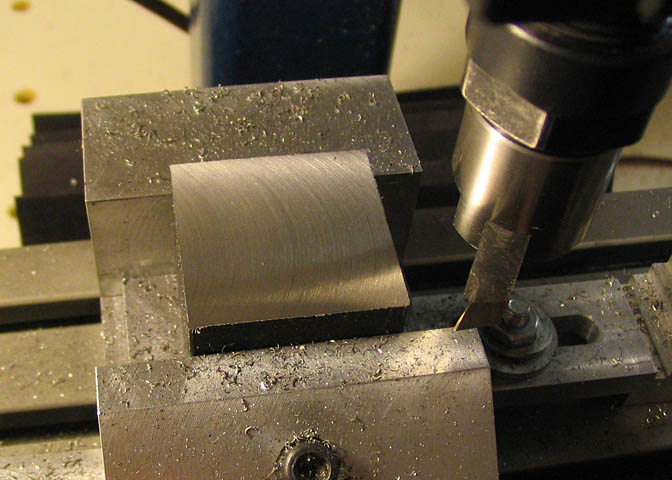
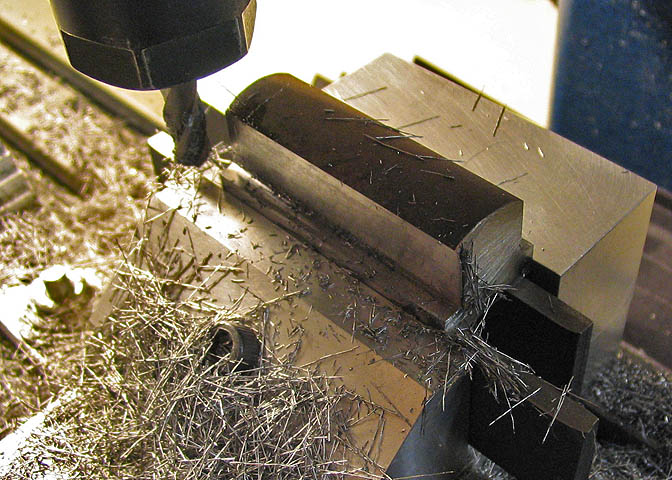
The piece is returned to the mill with its' bottom facing the moveable jaw of the vise. Then
the line is used to locate the end mill. Using a 1/4" end mill, cut a slot, just taking out the
line as you go. The slot should be .270" deep. Then feed the table in an additional .010"
and take that amount off the edge of the slot closest to the bottom of the tool post. Return the
table to the original position, and in however many passes are necessary, take another
.1" off the top side of the slot, (the part that will be above the tool). Flip the tool post over
and do the same for the other side.
This will work if using 1/4" tool bits on the Craftsman. If you want to use 3/8" bits, the
line scribed on the post remains the same, but the bottom part of the slot has to be
increased by another .125".
It's reasonable to consider cutting different sized slots on either side too. Then you could
use both 1/4" and 3/8" tooling.
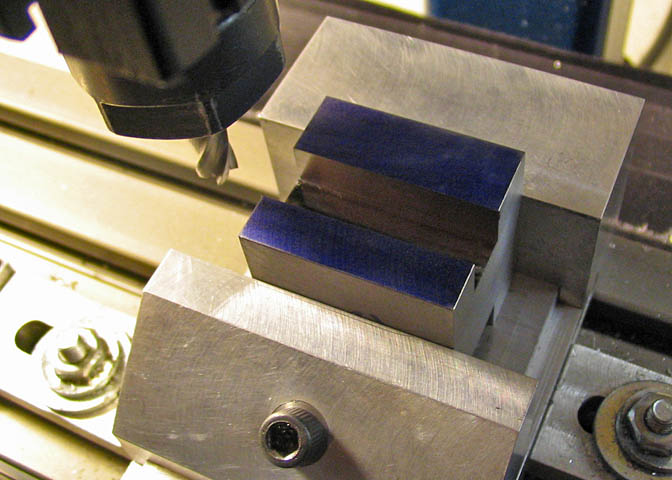
With the tool slot cut, two holes are tapped for 8-32. The holes are laid out 1/4" from each
end of the slot, and halfway into the slot so they hold the tool near its' center.
The center of the tool post is drilled for clearance of a 1/4" fastener.
I left the opposite slot undrilled for screws for the time being. I may want to widen the slot
on the other side for larger tooling someday. Haven't decided yet.
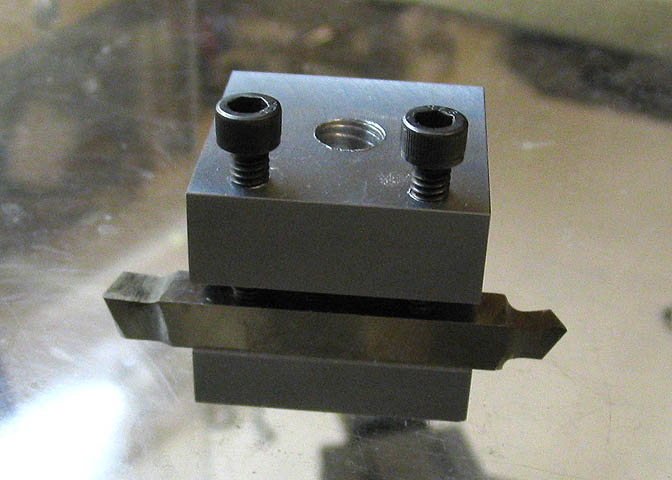
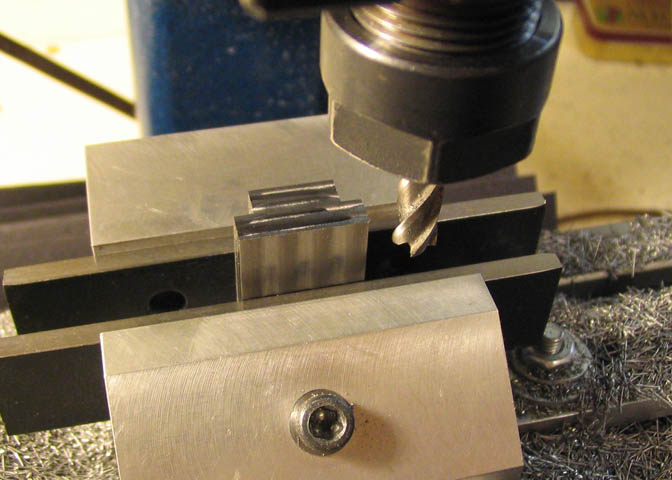
Now to make the clamp. All that's needed for this is a piece of 3/4" square steel about 1 1/4"
long. Mill flats on both sides, .2" thick and .120" wide. The center part that's left will stick
up in the center of the large slot in the compound slide. This center part needs to be milled
down so the entire thickness of the clamp is .4". The width of the base of the clamp is .75".
The piece in the picture may look a little odd. I didn't have a piece of 3/4" square CRS,
but had some 1" diameter round stock, so milled the clamp out of that.
The clamp is then set on end and milled to length, which is the same length as the tool post.
Final step is to drill and tap the center of the clamp for 1/4-20.

The finished tool post in place on the compound slide. It does help to keep things rigid, and
has the added benefit of being able to cut right up near the chuck since it puts the bit
almost on the edge of the compound slide. It offers a lot more support for the tool bit, too.
Back to Craftsman 109 Projects
More Taig Lathe & Mill Projects
deansphotographica.com
(home page)
Copyright 1998-2009 Dean Williams