Making a Spindle Adapter for the Craftsman 109
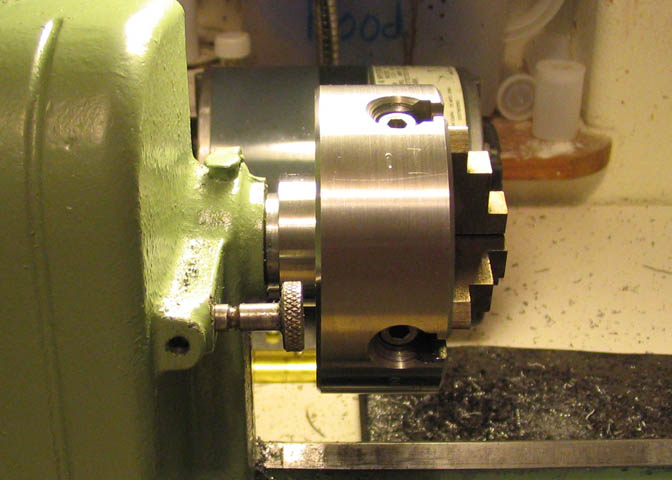
The four jaw chuck that came with my 109 was in pretty poor shape. The
jaws canted outward when tightened onto a work piece leaving only a very
small portion of the jaws gripping the piece. It adds to the problem of
chatter because the work piece can vibrate in the chuck while taking a cut.
The stock spindle nose is threaded for 1/2-20, and there are a few currently
manufactured chucks that can be had in that thread, but I have two perfectly
good Taig chucks and a face plate that are threaded for 3/4-16. I like the
Taig chucks, especially their four jaw unit, so I decided to make a spindle nose
adapter for the Craftsman to use the Taig chucks with it.
Since the chuck on my 109 is in such bad shape, I did the first few steps of
this project on another lathe. If the Craftsman were all I had, I could still have
made this adapter, but it would have taken me longer since very light cuts
would need to be taken to keep from pulling the work piece out of the chuck.
Note that some early Craftsman 109 lathes had 1/2-24 thread, so if you have a spindle of that
thread and want to make this item, you will have to modify it for that thread.
Starting with a piece of 1.5" CRS, cut a section on the end .800" diameter for a length of .6".
Then turn down the section behind it to a diameter of 1.4" for a length of .4", plus enough
additional length to allow for parting off to an over all length of one inch.
Bore a center hole for a diameter suitable to take a 1/2-20 tap to a depth of about 1 1/8".
It just needs to be deep enough so that when the piece is parted off the bored hole will
extend completely through the piece. The normal diameter for a 1/2-20 tap hole is 29/64",
which would usually be drilled, but I wanted to be sure this hole was straight, so I bored it.
If your lathe has 1/2-24 spindle threads, this is the step that needs to be modified.
The next step is to tap the hole. Here, you can see the tail stock center being used in the
end of the tap, to keep it straight. The piece of wood under the chuck is to keep it from
turning while tapping the hole.
The small end of the adapter will have to be threaded on the 109 spindle nose for truing
the adapter, so the first 1 1/2 to 2 threads are removed to allow it to thread down tight
on the spindle register.
Once this is done, the piece can be parted off to a length of one inch. My parting tool
wasn't long enough to go completely through the piece, so I cut it as deep as it would
go and finished it off with a hack saw.
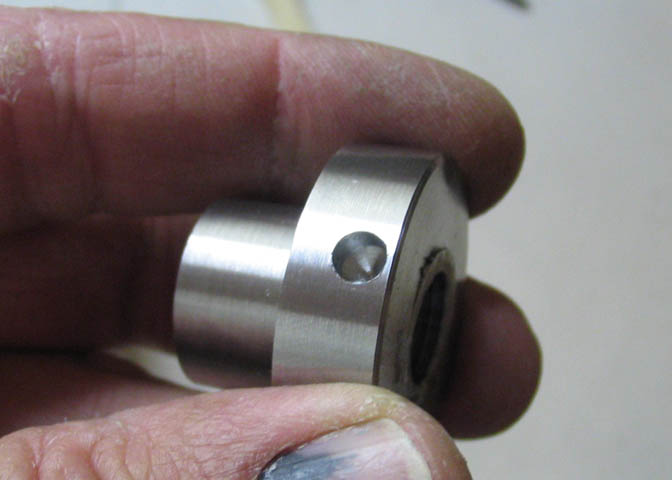
Before mounting the piece on the 109 spindle, a 3/16" hole is drilled 3/16" deep so a bar
can be used to remove it when needed.
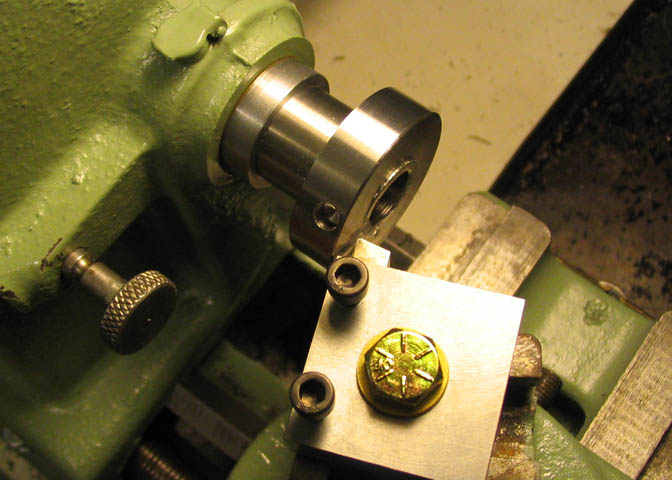
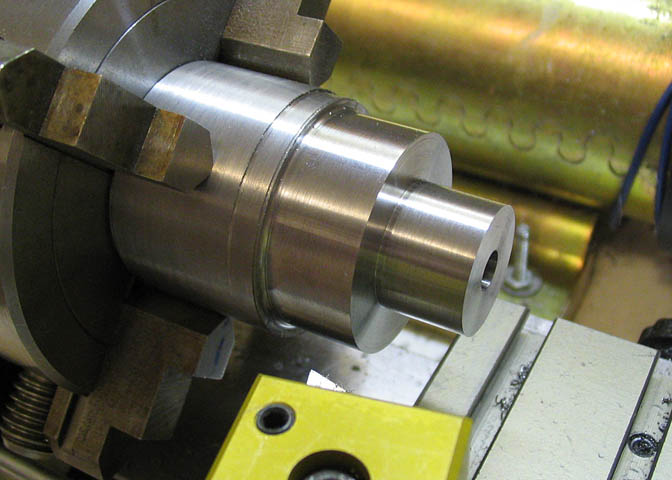
The piece is threaded onto the Craftsman 109 spindle with the small end seating on the
spindle register ring. Then the piece is faced off. The finished length is not critical. It
started out at one inch to allow enough metal for facing, and in the end will be slightly
under an inch long. Anything between .900" and 1.00" long will be perfectly fine. It
can't be too short though, or the back of the chuck will hit the back gear lock knob.
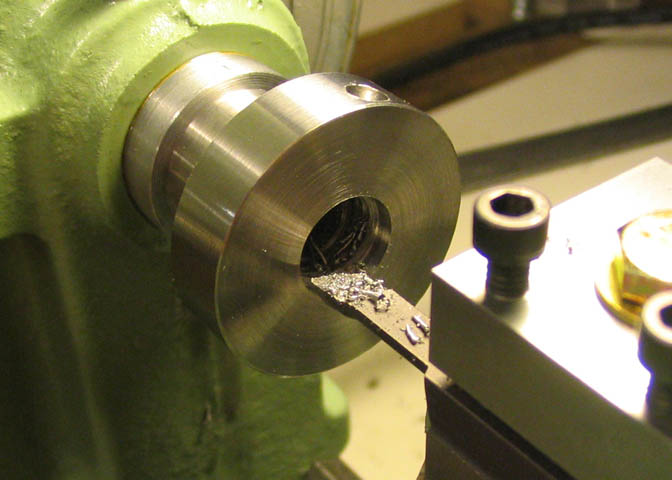
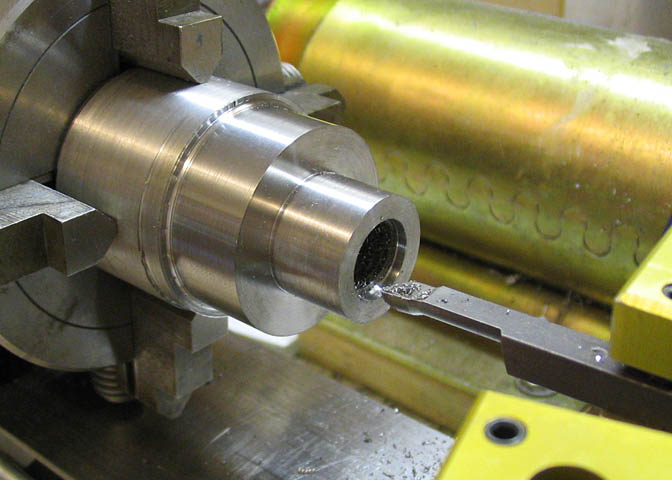
The end is then bored to make a recess that will fit over the spindle register. The recess needs
to be .1" deep and one inch in diameter.
After boring the recess the bottom surface is skimmed to remove any "rings" left by the boring
tool, and to remove any radius that may have been left in the corner of the recess. A tool with
a slight hook and a sharp point is used for this so it can reach right into the corner without
hitting the side of the bored edge.
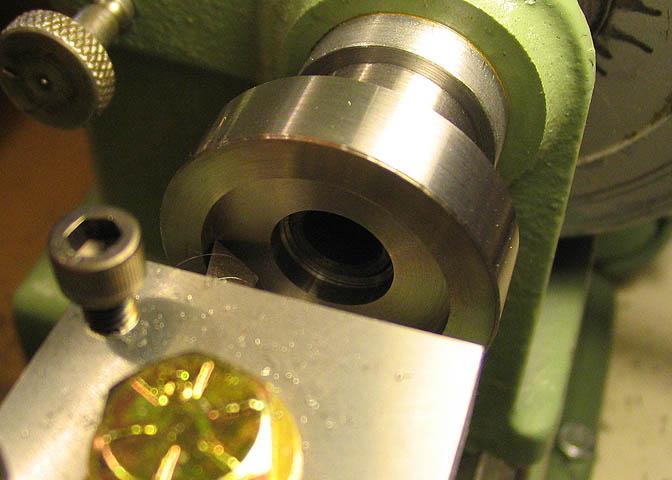
Once again, the boring bar is used to remove a couple of threads on the inner bore so the
adapter will seat fully against the register. This step will have the threaded bore and the
seating surface running true and perpendicular to each other.
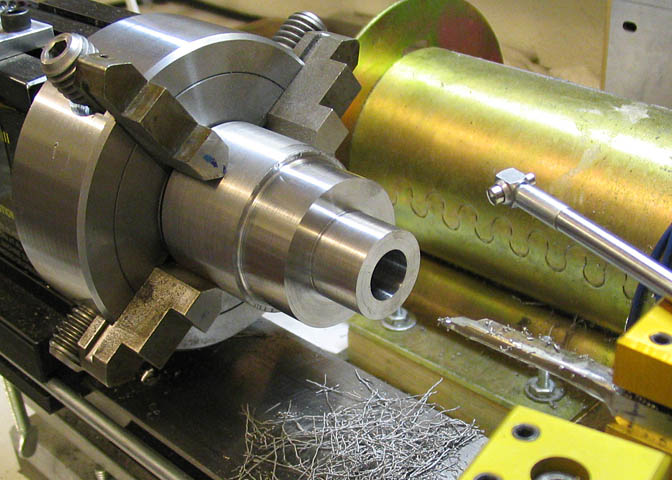
Now the piece is reversed on the spindle, putting it in its' proper operating orientation.
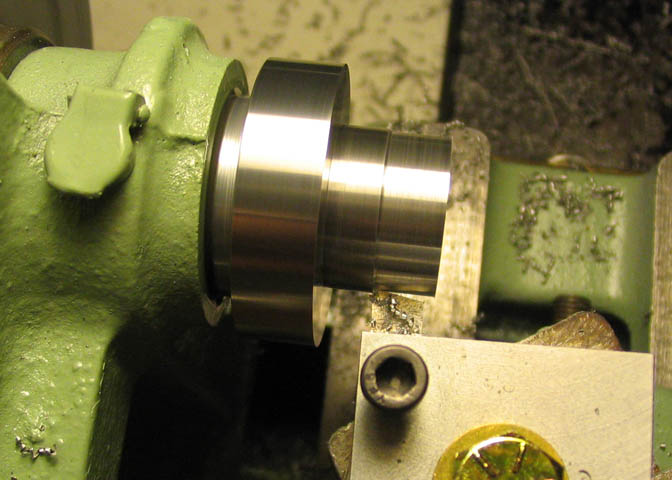
The portion of the adapter that will take the threads for the Taig chucks is now turned down
to .747", which is the diameter of the spindle on my Taig lathe.
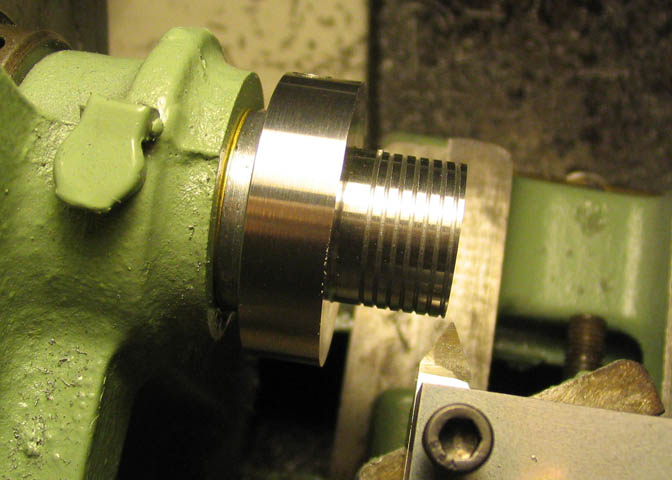
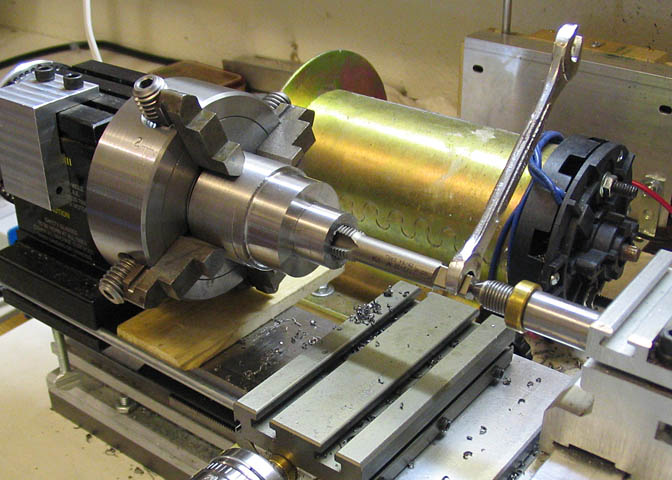
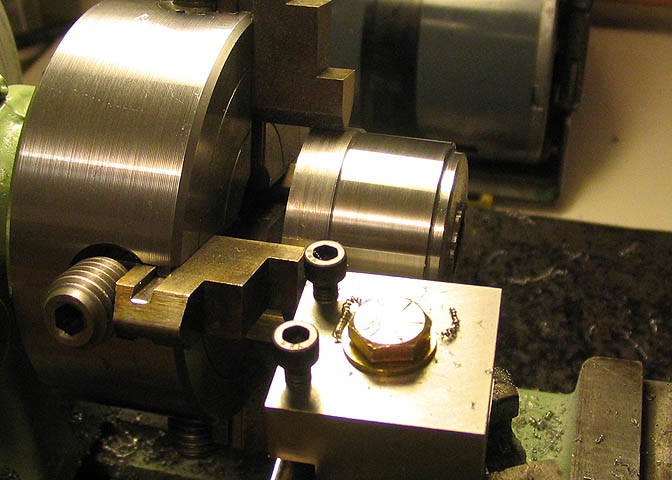
This is the start of the 3/4-16 threading process. In order to work this close to the spindle,
the threading dial has to be removed from the carriage, so after each pass on the threads
the lathe has to be shut off, the tool backed out, and the lathe spindle turned backward by
hand to return the carriage to it's starting point for the next pass. The half nut must not be
disengaged during this process, or the thread point will be lost.
There is a little tail of woe involved in this story. It happens.
After the threads had been cut to about half their proper depth, I shut off the lathe and reached
around to the back to start turning the spindle backwards to move the carriage back down the
bed so I could make another pass. Somehow, I inadvertently bumped the tumbler gear knob,
which I apparently had failed to tighten properly before starting this thread. I felt it but didn't
realize what had happened until it was too late. The tumbler had caught on the top of another
gear, and when I turned the lathe on for another pass, it slipped back into position, but the spindle
must have turned a fraction before it did. So, I lost my place on the thread without realizing
it, and the next pass took a new thread out of the side of the existing one. Thankfully, I had
only fed the compound a tiny amount, so it wasn't a great gouge taken out of the threads.
I stopped for the day, since I had lost my place on the threads, and next day went to town to
buy a 3/4-16 die, hoping it would clean up the threads that had been damaged...
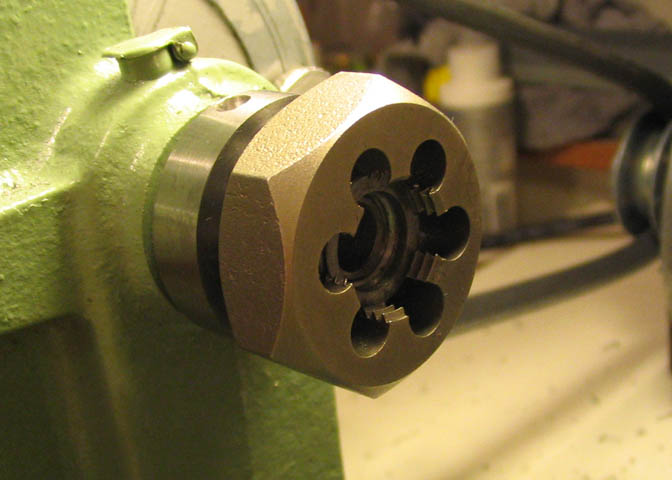
This is usually a preferred way of finishing threads anyway. Cut to near full depth with
a single point cutter in the lathe, and finish it off with a die. I hadn't planned to buy a die
for this project, but I have one now! I ran the die over the threads and held my breath.
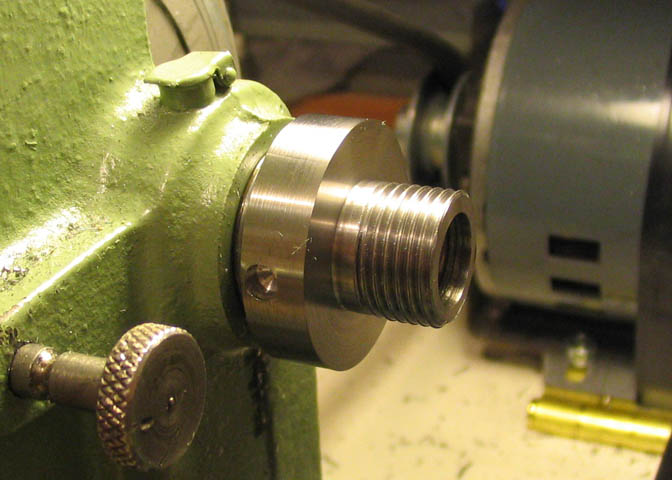
Well, it can be seen here that the die did a pretty good job of salvaging the threads. These
little mishaps seem to happen when a project is nearly done. The last place to make a
mistake is on the last step of the job!
The spindle on a Taig lathe has about 1/8" at the end of the threads that are cleaned and
smooth, as has been done here. The Taig chucks have a similar amount of free bore in
them to fit over this last bit of the spindle and allow them to seat on the register.
This piece is now done, and ready for a test drive.
The Taig four jaw chuck mounts perfectly, and is much better than the old Craftsman chuck.
Cutting a test piece on 1 1/2" CRS using the new chuck produced a very nice finish. Not
quite mirror bright, but close, and the Taig chuck prevents the last bit of chatter I was
getting out of this old Craftsman 109. It's starting to get fun to use!
Back to Craftsman 109 Projects
More Taig Lathe & Mill Projects
deansphotographica.com
(home page)
Copyright Dean Williams